


Ester Hope
,@esterh1
1
Friends
You need to log in or create an account to post to this user's Wall.
-

Erica Martin commented on the post, How to Make Stickers in Inkscape 8 years ago
Freepik files should have multiple file types in them. You’ll want to use the .AI or .PDF version
-
Erica Martin wrote a new post 8 years ago
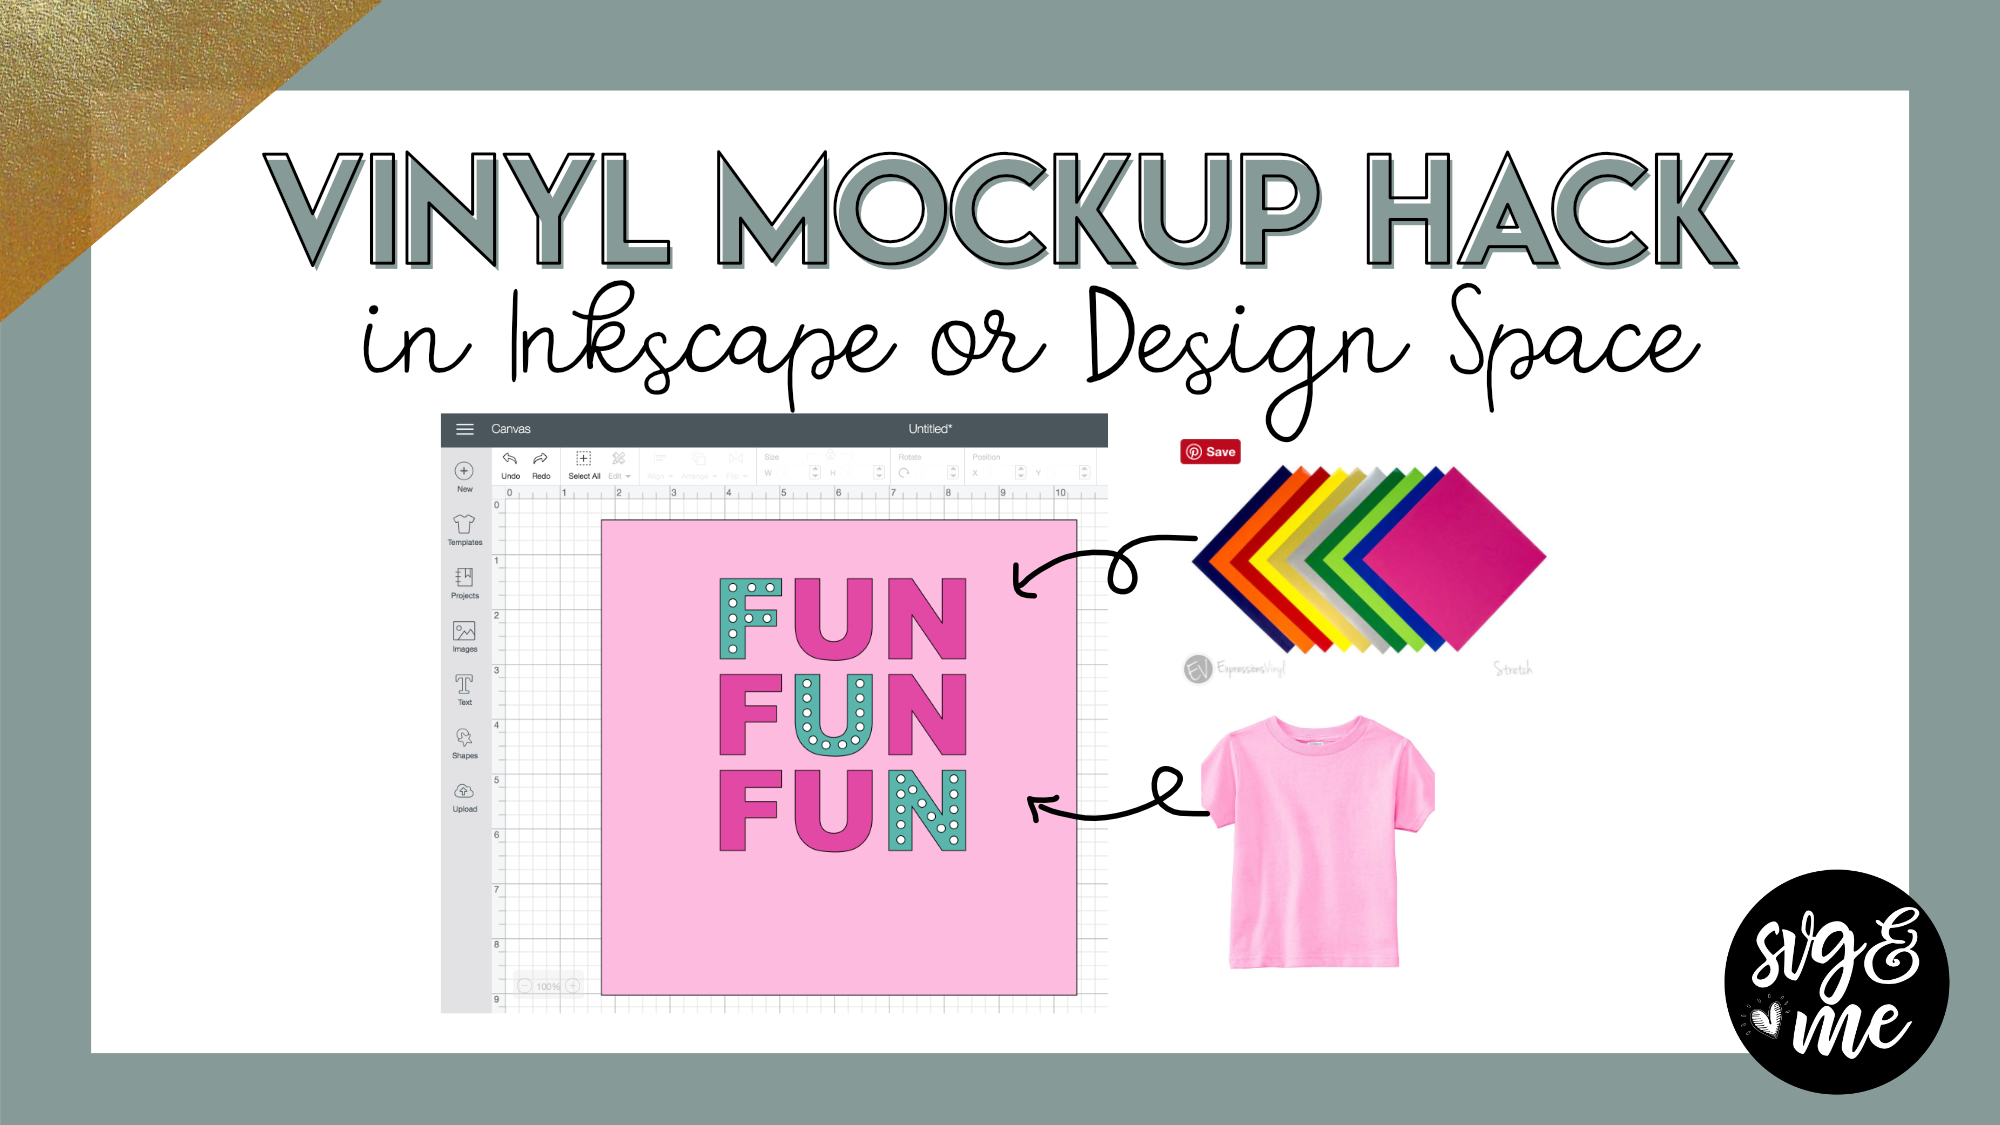
ColorZilla Chrome Extension
JiffyShirts Wholesale Apparel Supplier
-
Erica Martin wrote a new post 8 years ago
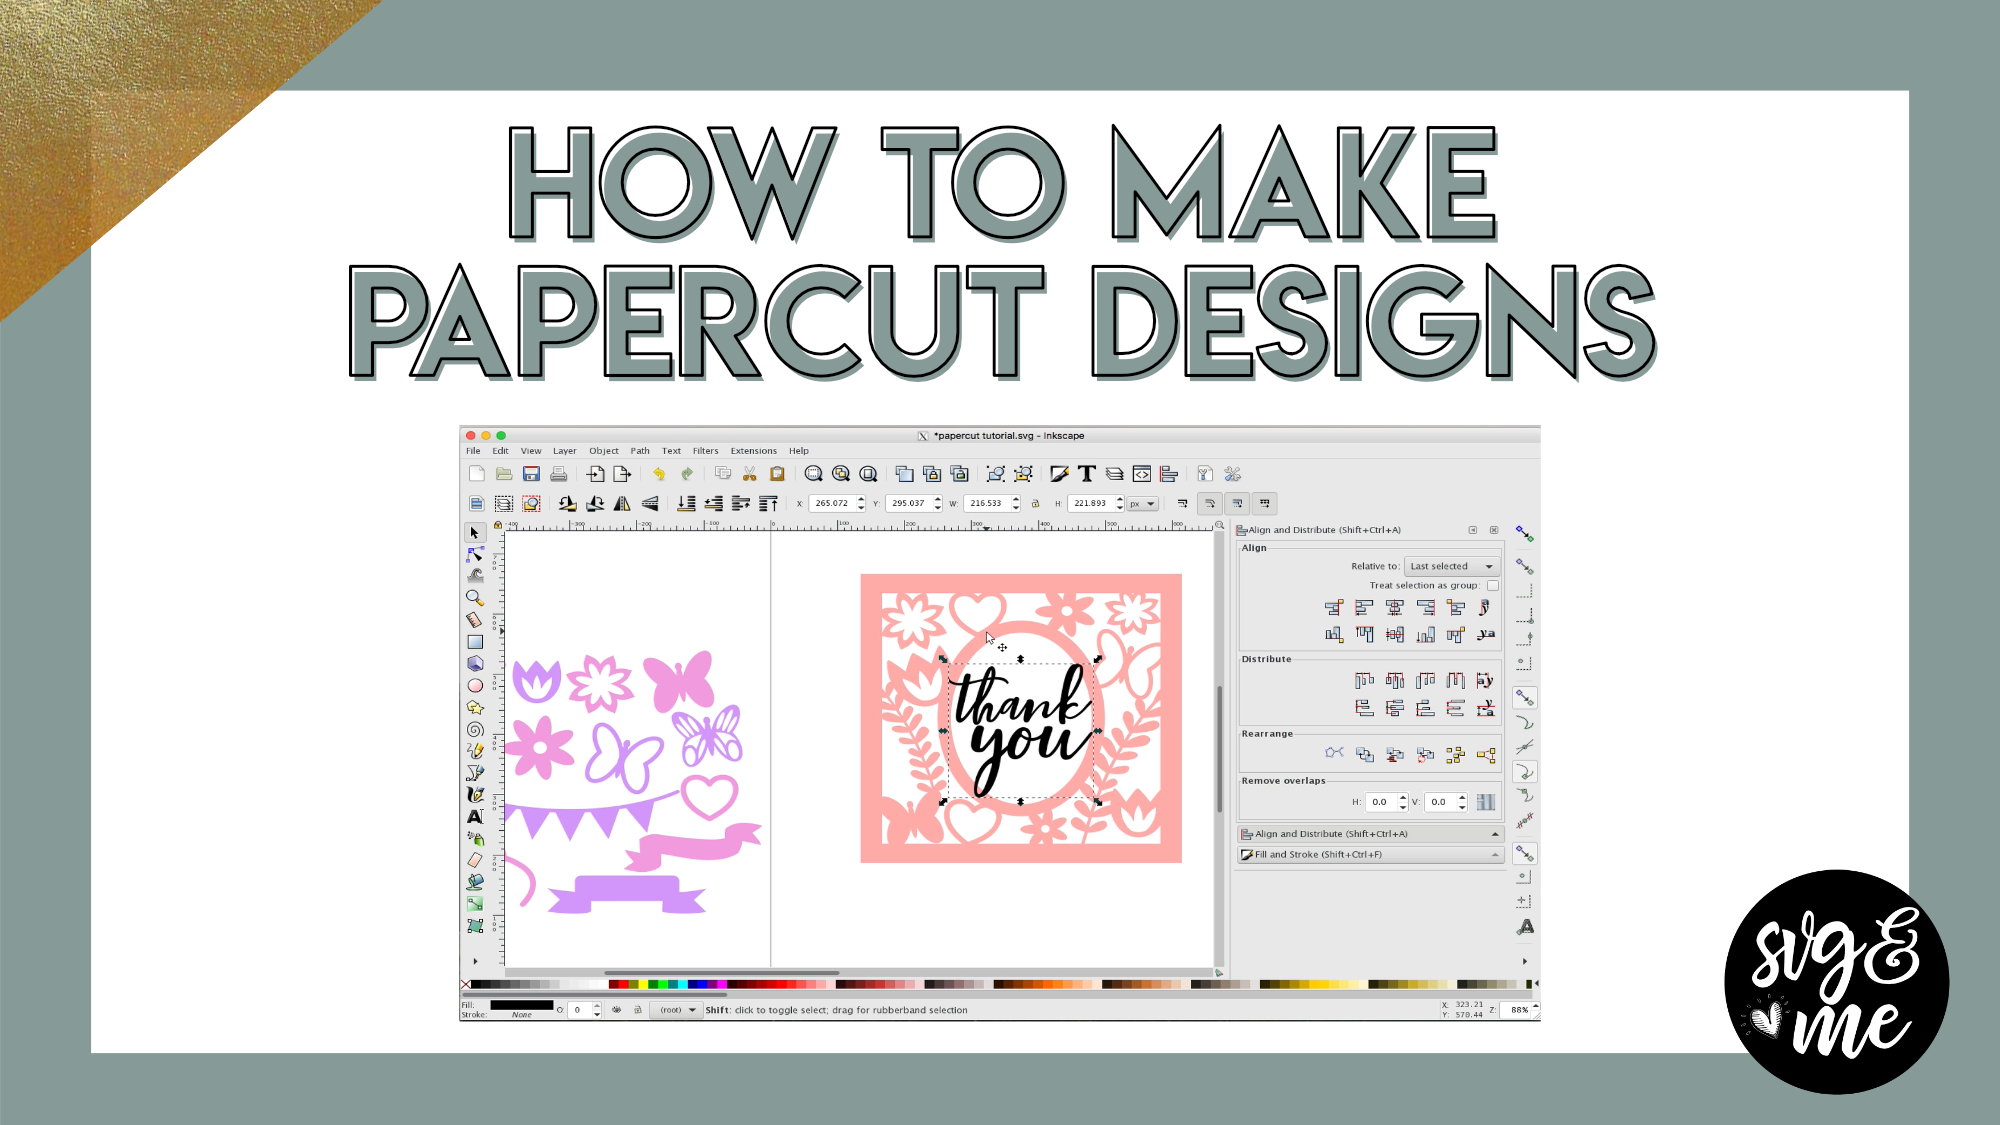
Download Cheat Sheet for Papercut Designs
Download Papercut Designing Starter Bundle
Watch Tutorial on Cutting Papercuts
Go get our pre-made Thank You Card and Home Sweet Home papercut designs in the SVG Library!
-
Awesome!! Thank you. Just what I was looking for!
-

Yay! Great to hear!
-
-
What fun! just starting, so this may be covered elsewhere, but what about using dingbats? How would they work – and/or how would we make them work? Thanks!
-
You can definitely use dingbats. You actually read my mind as I was planning on doing a video on using dingbat fonts for designing soon!
-
-
Thank-you so much for the cheat sheets! It helps me to have the steps written out. So many times I watch a to do video and jot down notes to help when I go to do it myself; otherwise, I am doing it on my computer while watching the video on my iPad. I appreciate the time and effort you put into your tutorials. Can’t wait to learn more.
-
Great to hear that you find the cheat sheets helpful! You’re very welcome 🙂
-
-
When creating your own border for one of these do you have to make the square? I’d like to see how you created the round one you have included it starter bundle.
-
No, you can do it with a circle as well the exact same way.
-
-
-
Erica Martin commented on the post, How to Fill Shapes with Text in Inkscape 8 years ago
You’re very welcome!
-
Erica Martin commented on the post, Single to Multi Color Traced Image Hack 8 years ago
Yes, exactly!
-
Erica Martin commented on the post, How to Cut Images Bigger Than Your Mat in Design Space 8 years ago
Awesome! So glad you enjoyed it! Thanks for the feedback.
-
Erica Martin wrote a new post 8 years ago
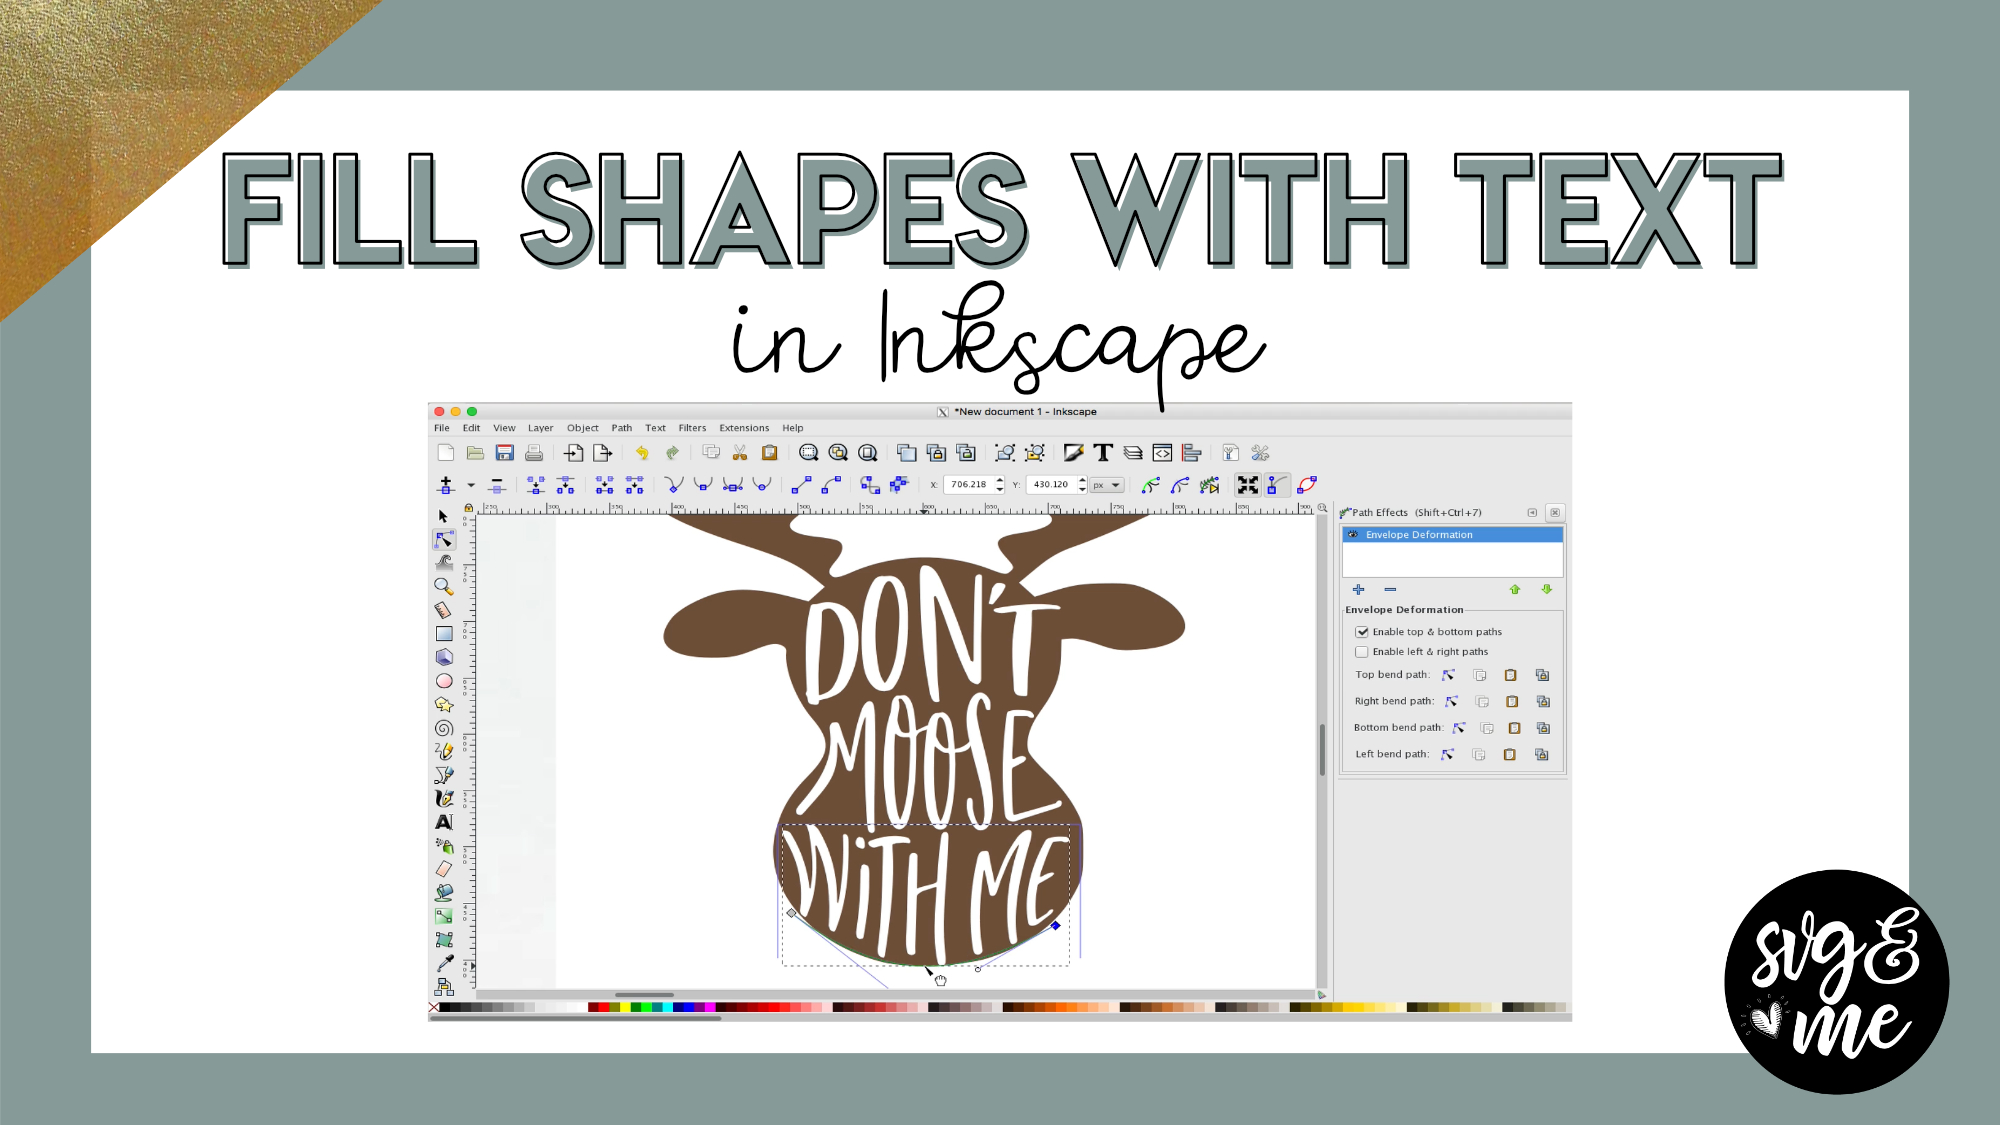
Download the Practice Shapes I Used
-
Thanks
-
You’re very welcome!
-
-
wow a lot to learn here, really love the tutorials
-
So glad to hear that – thank you!
-
-

Love these tutorials Erica….thank you
-
Yay! You’re very welcome 🙂
-
-

This video is just what I was needing! Your instructions are clear, and easy to follow. Thank you so much for teaching!!
-
Yay! Love hearing that – thanks so much for your support as a member!
-
-
Hi Erica!! Thank you for the amazing tutorials, they are so helpful and worth every penny. On this one, I am trying the envelope deformation and my box that shows the top green line or the bottom green line is not actually on my word, it is up above it. I deleted everything and started over and it still did it. Any ideas of what I might be doing wrong?
-
So glad you’re enjoying them! Can you send me a screenshot and maybe even the file itself? I’m happy to take a look [email protected]
-
-
Love your videos. They are so easy to follow. Now I just have to put my creative cap on and sort all my ideas I would like to do. Too many in my head. They are all a jumble right now. Thanks again for these great videos.
-
Thank you so much! Creativity will strike at moments you don’t expect and now you have the skills to start creating 🙂
-
-
How is this program different from Gimp 2.0?
-
This program is focused on graphic design (similar to Adobe Illustrator) Whereas gimp is more of a photo and image editing software (similar to Adobe Photoshop).
-
-
Oh oK. Got it.
-
-
Erica Martin commented on the post, Welcome Video #1: Courses 8 years ago
Yep, thanks for letting me know!
-
Erica Martin commented on the post, Welcome Video #1: Courses 8 years ago
Sorry for the confusion – I need to edit out the mentions of the annual membership. I changed it to a lifetime membership, which is what you have 🙂
-
Erica Martin commented on the post, Single to Multi Color Traced Image Hack 8 years ago
Glad you enjoyed it!
-
Erica Martin commented on the post, Design with Me: Custom Water Bottle Trackers 8 years ago
Good question. If you just do stroke to path you won’t have the fill inside the star. And if you get rid of the stoke and just use the fill it won’t be the same size as the other stars. So basically, I tried to simplify the steps as much as possible but you are making one copy into an outline and one into the fill and then combining the two.
-
Erica Martin wrote a new post 8 years ago
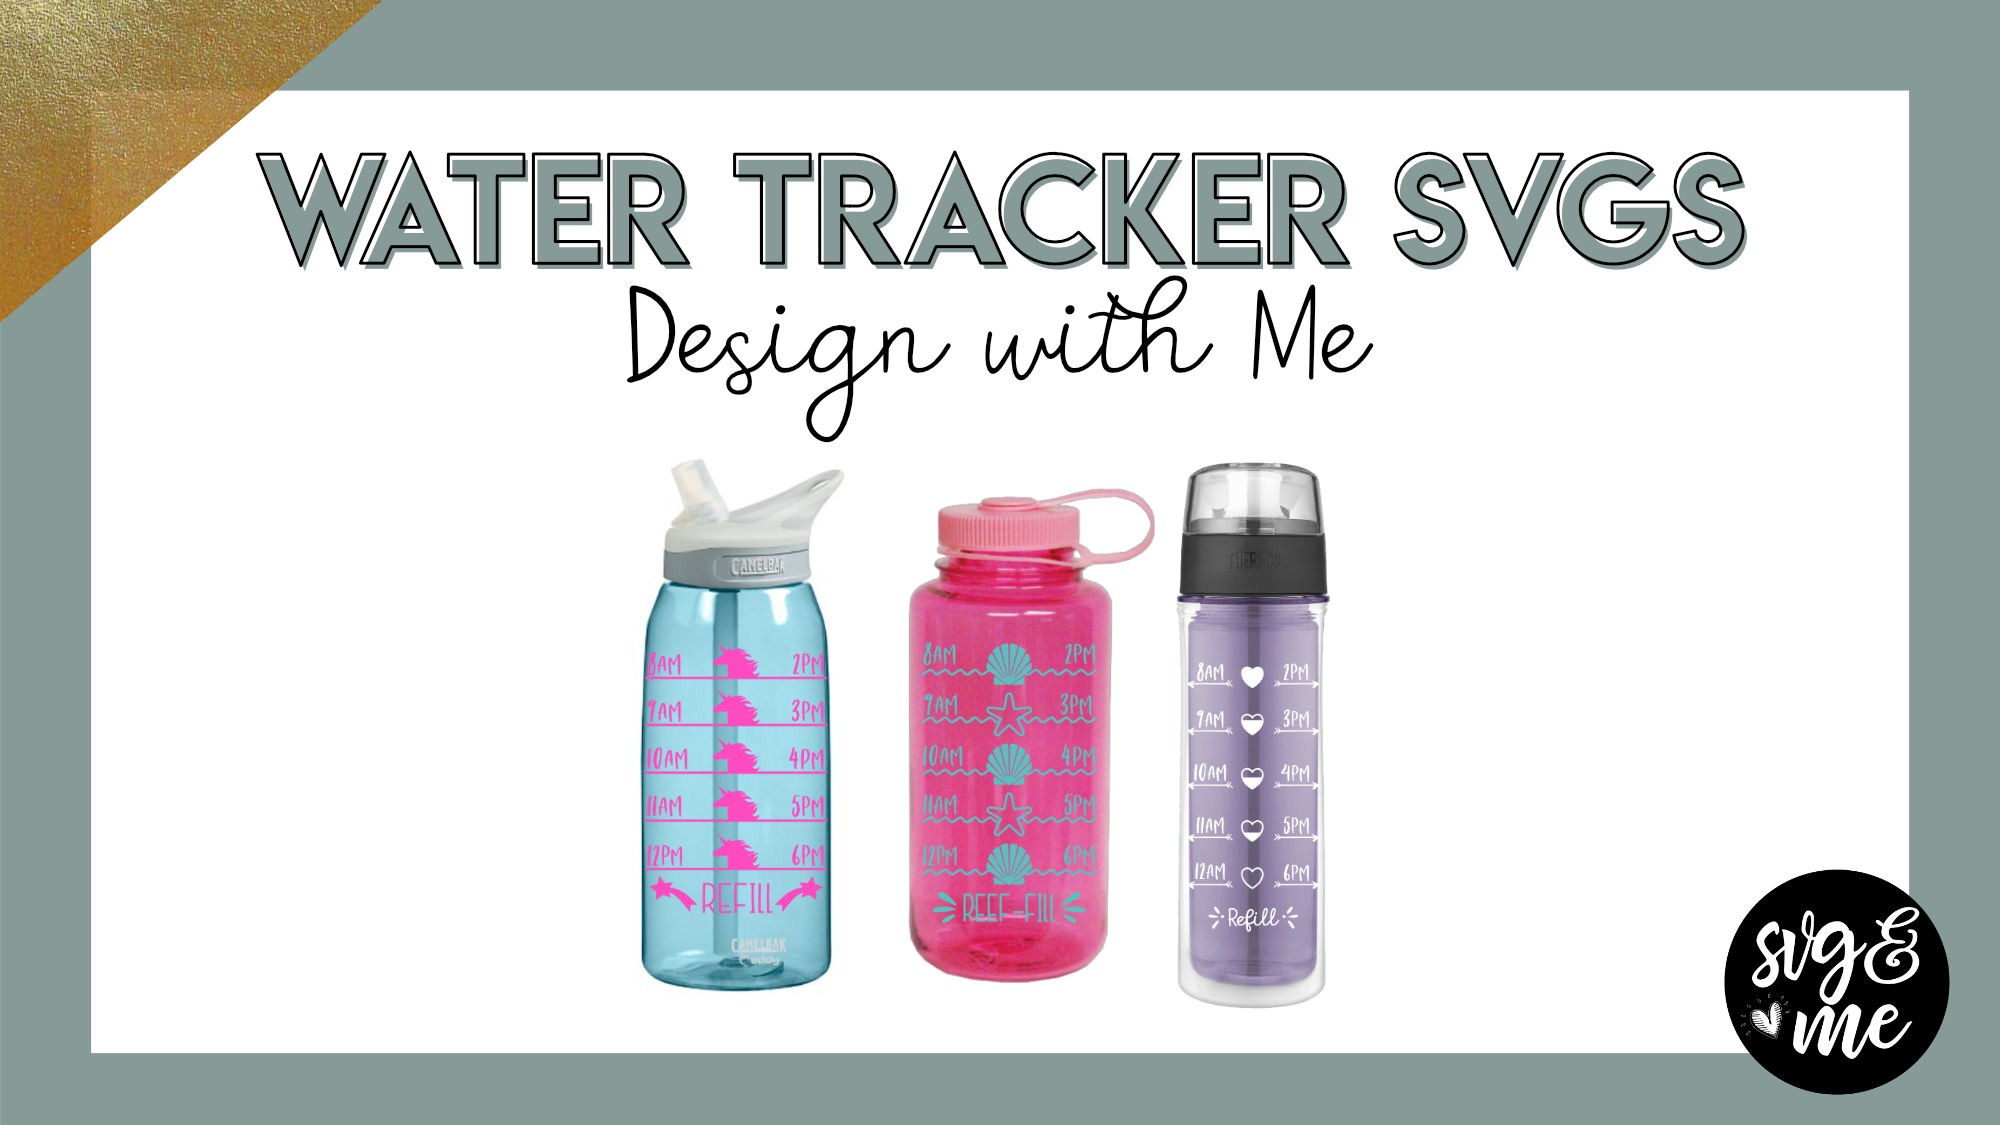
In this video, you’ll learn how to customize pre-made water bottle trackers as well as how to create your own from scratch!
Find our members-only pre-made water bottle trackers in the SVG Library.
-
Will you explain why you did the final star differently? “Remove stroke, duplicate then strok to path, then combine”? Why not just strok to path? I don’t understand why all the extra steps?
-
Good question. If you just do stroke to path you won’t have the fill inside the star. And if you get rid of the stoke and just use the fill it won’t be the same size as the other stars. So basically, I tried to simplify the steps as much as possible but you are making one copy into an outline and one into the fill and then combining the two.
-
-
@erica, everytime I try and duplicate the last star, select the line and do difference my line just disappears. What am I missing?
-
Nevermind I figured it out =)
-
Glad you figured it out!
-
-
so I made my own design, saved it, followed all of the directions and when I went into DS to upload it doesn’t show up in the work space. I can see the image on my saved projects but when I pull the image into the work space to cut it is completely blank?
-
Check out this tutorial: https://members.svgandme.com/export-placement/
-
-
ok. I created the svg but when I try to upload it into design space I get an error message that says The uploaded svg contained the following items that are not supported. text elements. auto flow text unsupported image type out of memory. HELP What did I do wrong?
-
This tutorial should help: https://members.svgandme.com/troubleshooting-upload-svgs-design-space/
-
-
Erica,
I am having trouble locating the pre-made tracker to work with. Has it been deleted from the library or am I missing it somewhere else? Thank you for your help. 🙂
-
Never mind, I found it in the graphic designs. It wasn’t loading for some reason.
-
Glad you found it!
-
-
-
Erica Martin commented on the post, Creating Patterned HTV Mockups 8 years ago
Awesome, so glad you found it useful!
-
Erica Martin commented on the post, New Feature!: How to Curve Text in Design Space 8 years ago
That is so amazing to hear! Glad I could help!
-
Erica Martin commented on the post, How to Upload 3D SVGs 8 years ago
You are a lifetime members so don’t worry about that 🙂 Attaching is the action to make sure that the pieces stay in the same position on your mat. It is kind of like weld but not permanent. There’s a lesson on attaching in the Design Space course you might find helpful: https://members.svgandme.com/lessons/attaching/
-
Erica Martin commented on the post, How to Upload Stickers 8 years ago
Good question. You could just ungroup then delete everything except the ones you want. Select each shape with background (if you want the white outline) and click flatten. Then, when you go to make it, you can increase the project copies in the upper left corner (and press apply) and it should duplicate it as many times as will fit on the sheet.
-
Erica Martin commented on the post, How to Upload 3D SVGs 8 years ago
Yay! Love hearing that!
-
Erica Martin wrote a new post 8 years ago
-
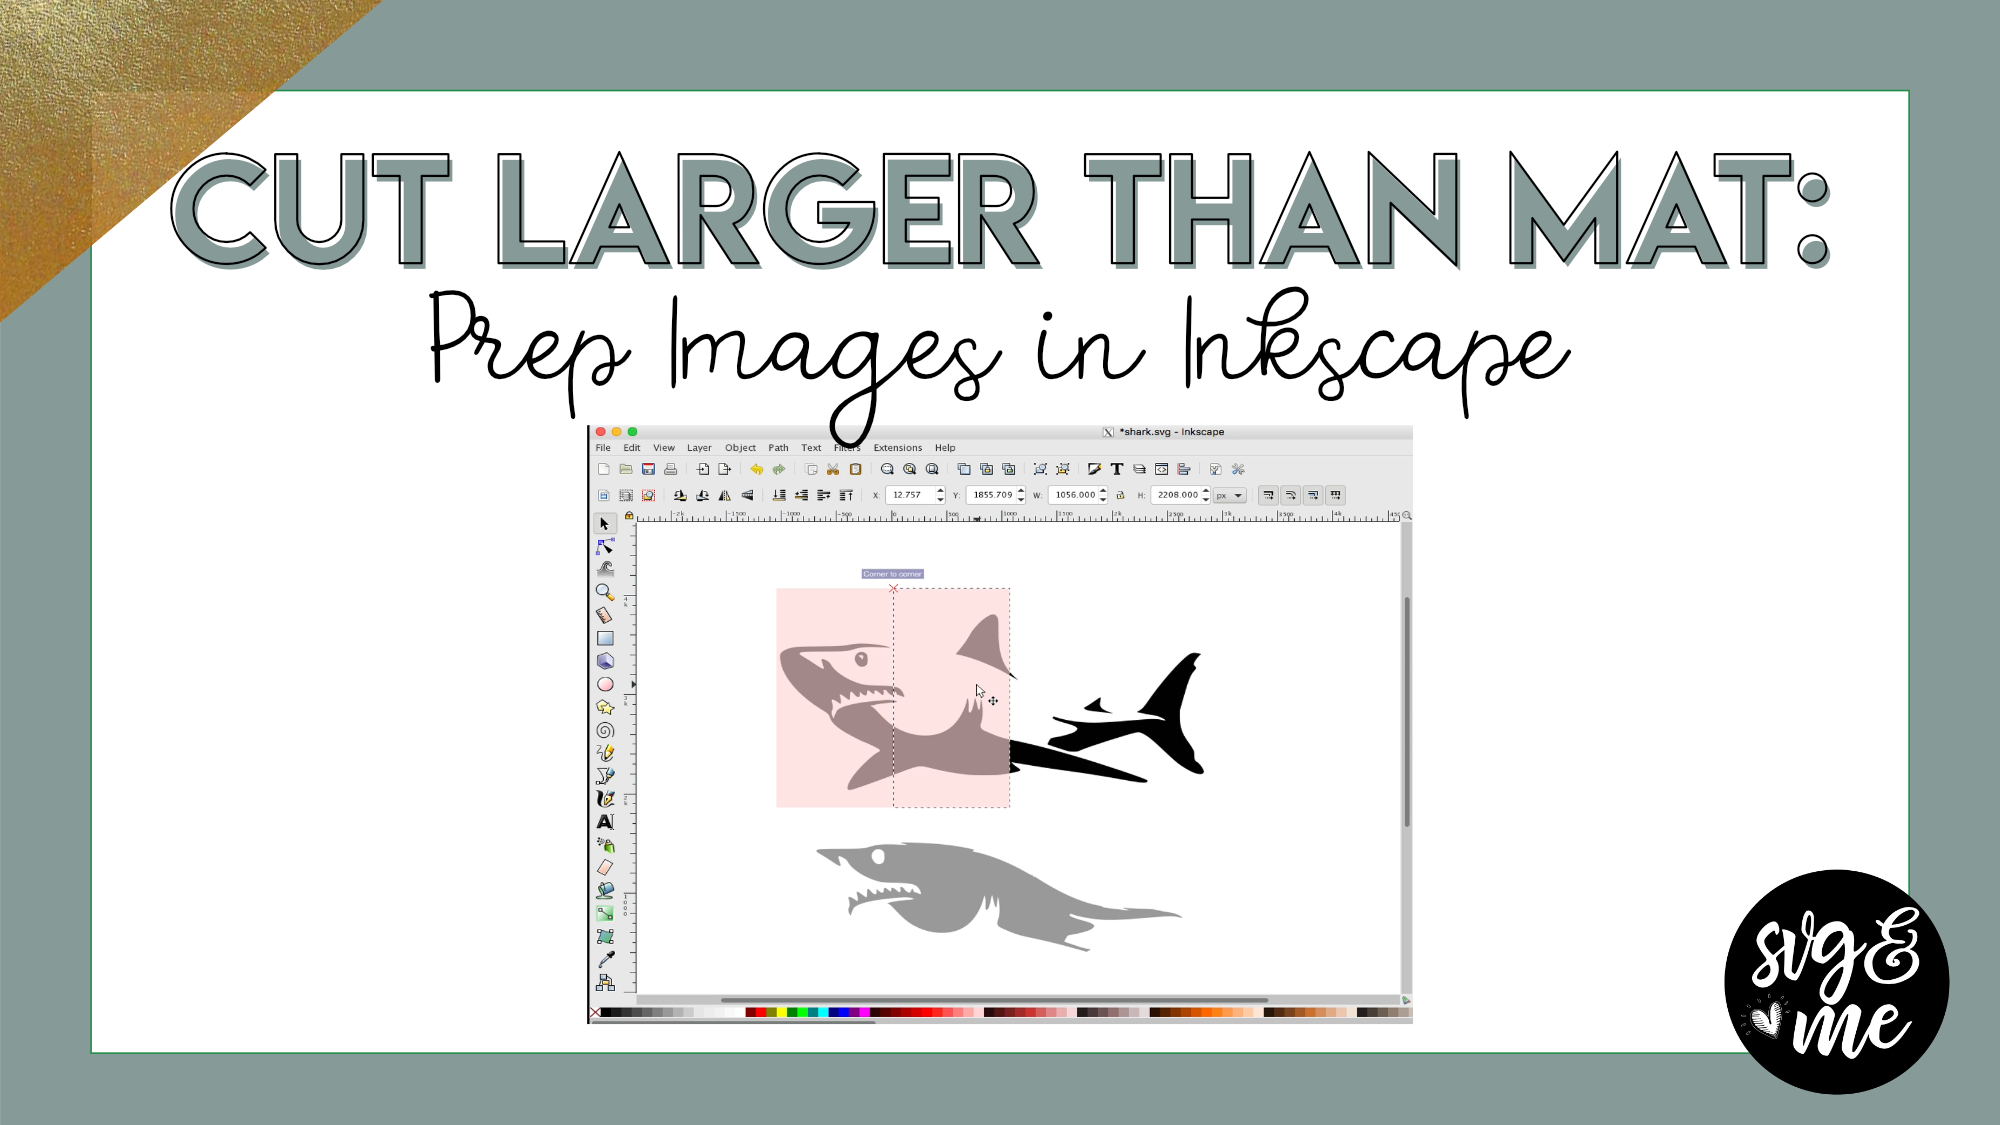
Ah…found this tutorial after watching the equivalent in Design Space tutorial. So much easier in Inkscape. Thank you so much for all your tips.
-
Great, so glad you found it helpful!
-
-
Thank you
-

Excellent! A great tutorial.
-
Hi! I don’t see the link for design space… but I was wondering if the steps for a larger than mat text are the same as this shark?
-
You can do it that way or you can also use Path > Break Apart with text and then select around the portions you want to keep together (that will fit on a single mat) and use Path > Exclusion to cut out any holes again that got filled in. Let me know if you need help walking through this.
-
-
I found the design space tutorial for larger than mat!
-
-
Erica Martin commented on the post, Welcome Video #1: Courses 8 years ago
@pjbmom So glad to hear you’re enjoying the course! I think 651vinyl.com and Swing Design are both suppliers with good deals on vinyl you may want to check out.
-
Erica Martin wrote a new post 8 years, 1 month ago
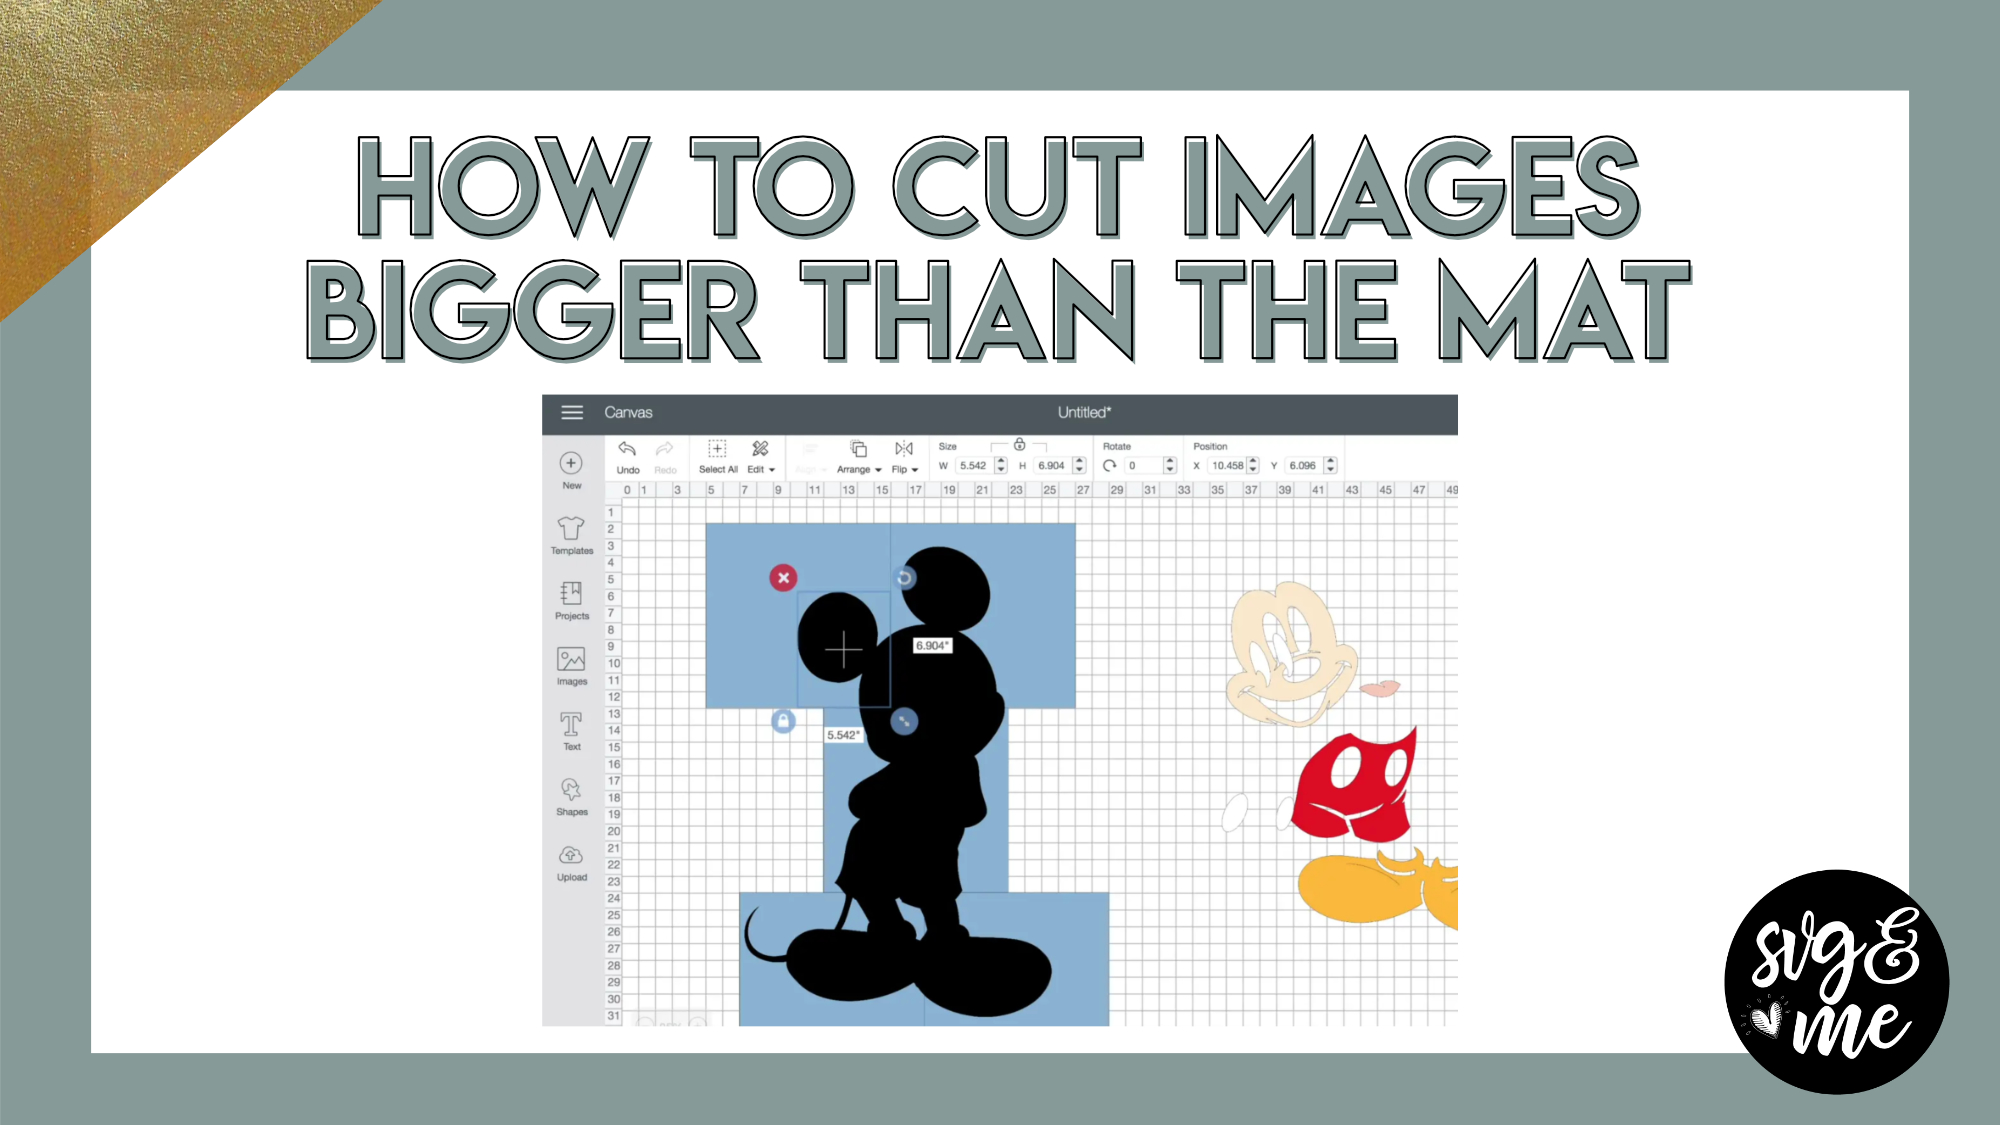
How to do the same thing in Inkscape: https://members.svgandme.com/cut-larger-mat-inkscape/
-
this was great
-
Awesome! So glad you enjoyed it! Thanks for the feedback.
-
-
Great tutorial Erica. As soon as you started the penny dropped. Years ago my friend and I painted a Micky on a wall using a similar technique (much more manual but using the graph in pieces)
I only have Brother’s Canvas Workspace and Inkscape. I found the grid in Inkscape and wanted to check with you that it can be done in Inscape. As it has the grid and the layers I was thinking it should work the same.
If not, do you have any other suggestions that would work?
Thanks 🙂-
All good Erica. I found the Inkscape tutorial. Looks so much easier than the Design Space. Thanks heaps.
-
Got your message, but just in case others have the same question – there is an Inkscape version as well and I will add a link below this video.
-
-
@erica I’m not getting the slice option when I’m dragging from the outside of the square to the black image. My image is a bunch of words, could this be causing an issue? They are attached.
-
Yes, you can only slice two objects at once so you’ll want to slice before attaching.
-
-
- Load More


I am so thankful that I ran across this today and joined. I’ve learned a lot already! Thank you!
So great to hear! So glad you joined too 🙂
Awesome!!! I have to search around for Hex codes all the time!!
I know – it’s such a fun hack to get realistic ideas of what it will look like before you cut.