


Cynthia Honor
,@chonor
3
Friends
You need to log in or create an account to post to this user's Wall.
-

Erica Martin wrote a new post 8 years, 2 months ago
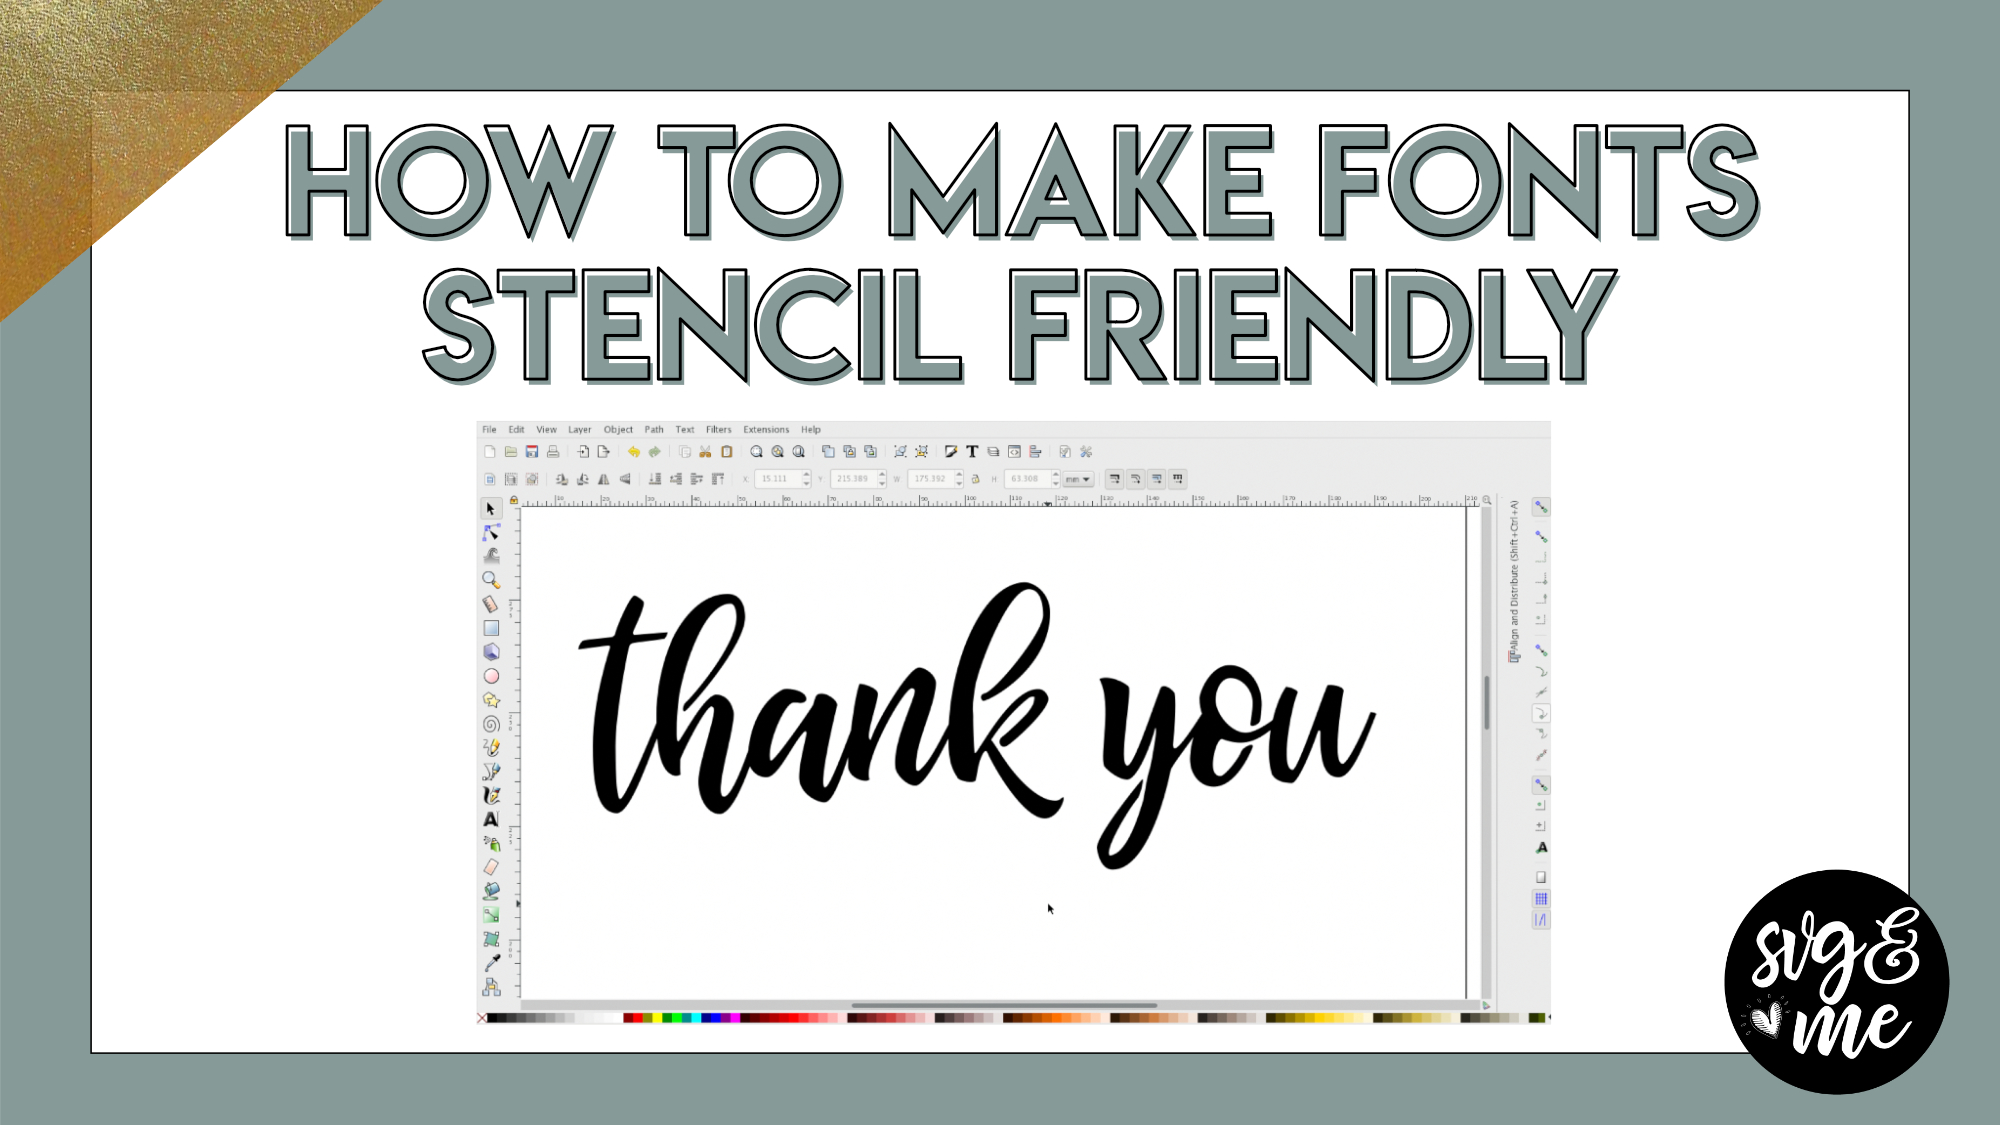
Checkout this helpful technique for creating “stencil-friendly” text to use when cutting out words for cards or creating stencils to make all sorts of DIY projects from etched glass, stenciled T-shirts, […]
-
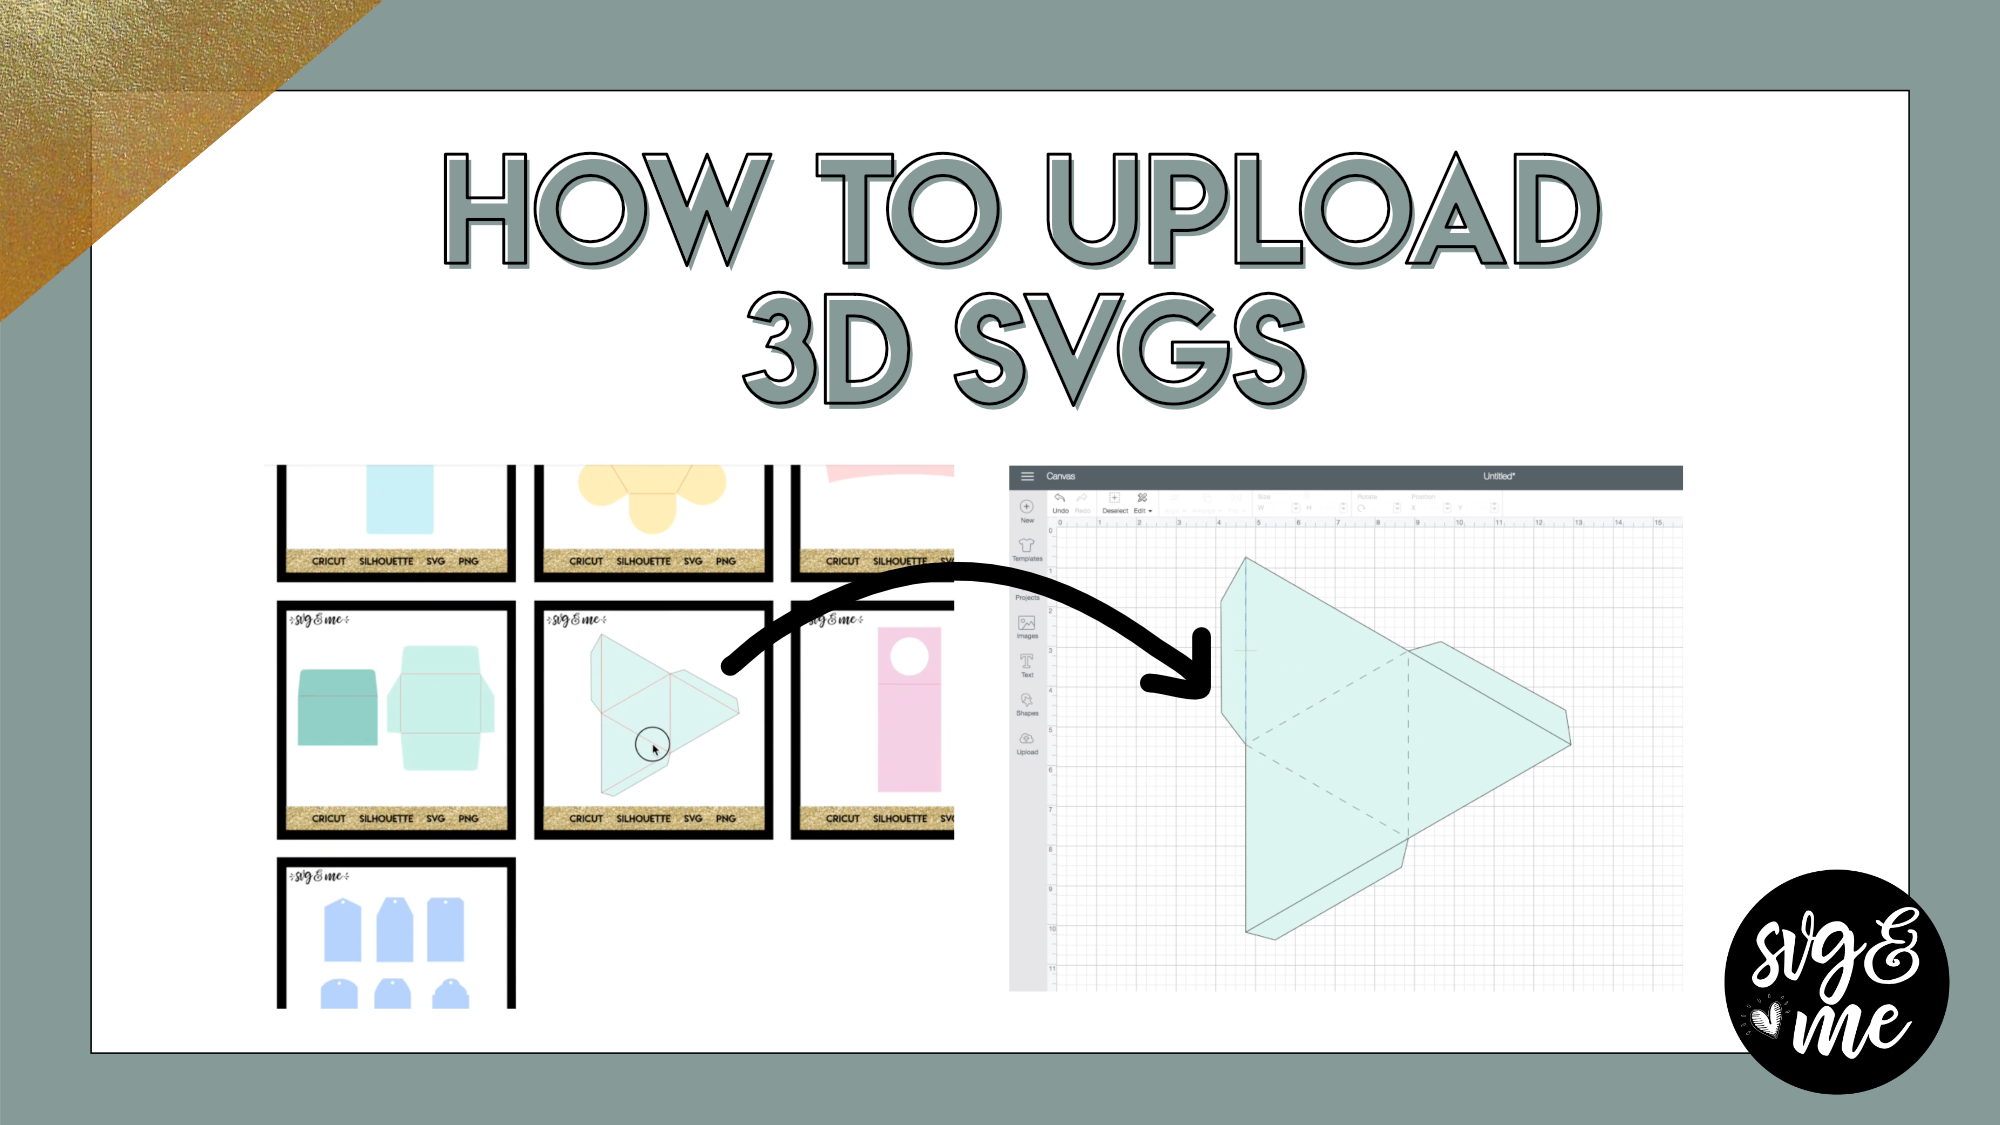
Erica Martin commented on the post, How to Upload 3D SVGs 8 years, 2 months ago
You’re very welcome!
-
Erica Martin commented on the post, Knockout Name Using Inkscape 8 years, 3 months ago
Thanks! Yes you do lady – got to take our course! 😉
-
Erica Martin wrote a new post 8 years, 3 months ago
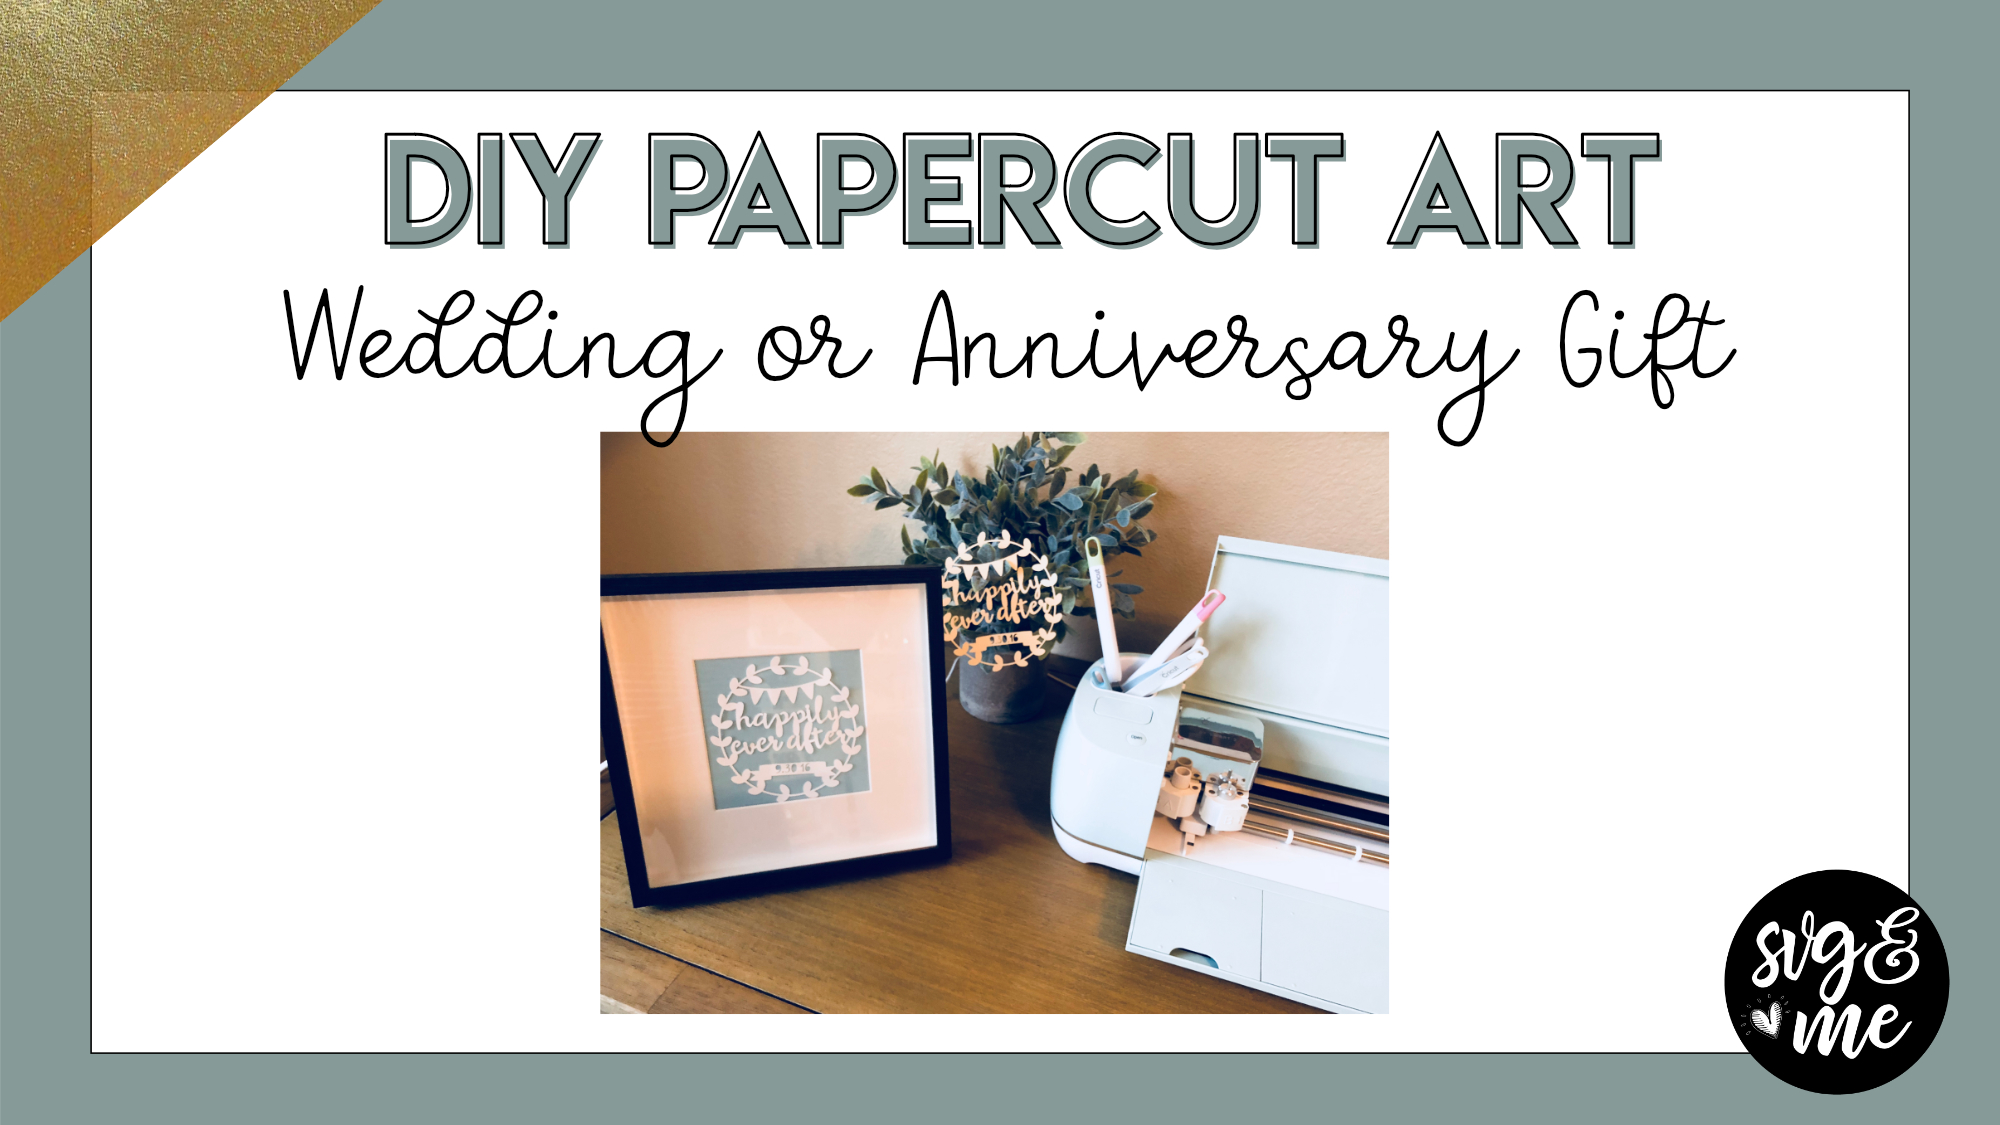
Check out this tutorial on how you can make personalized “Happily Ever After” papercut artwork with a custom date. It would make the perfect wedding or anniversary present for your sweetheart (or yourself).
-
Erica Martin wrote a new post 8 years, 3 months ago
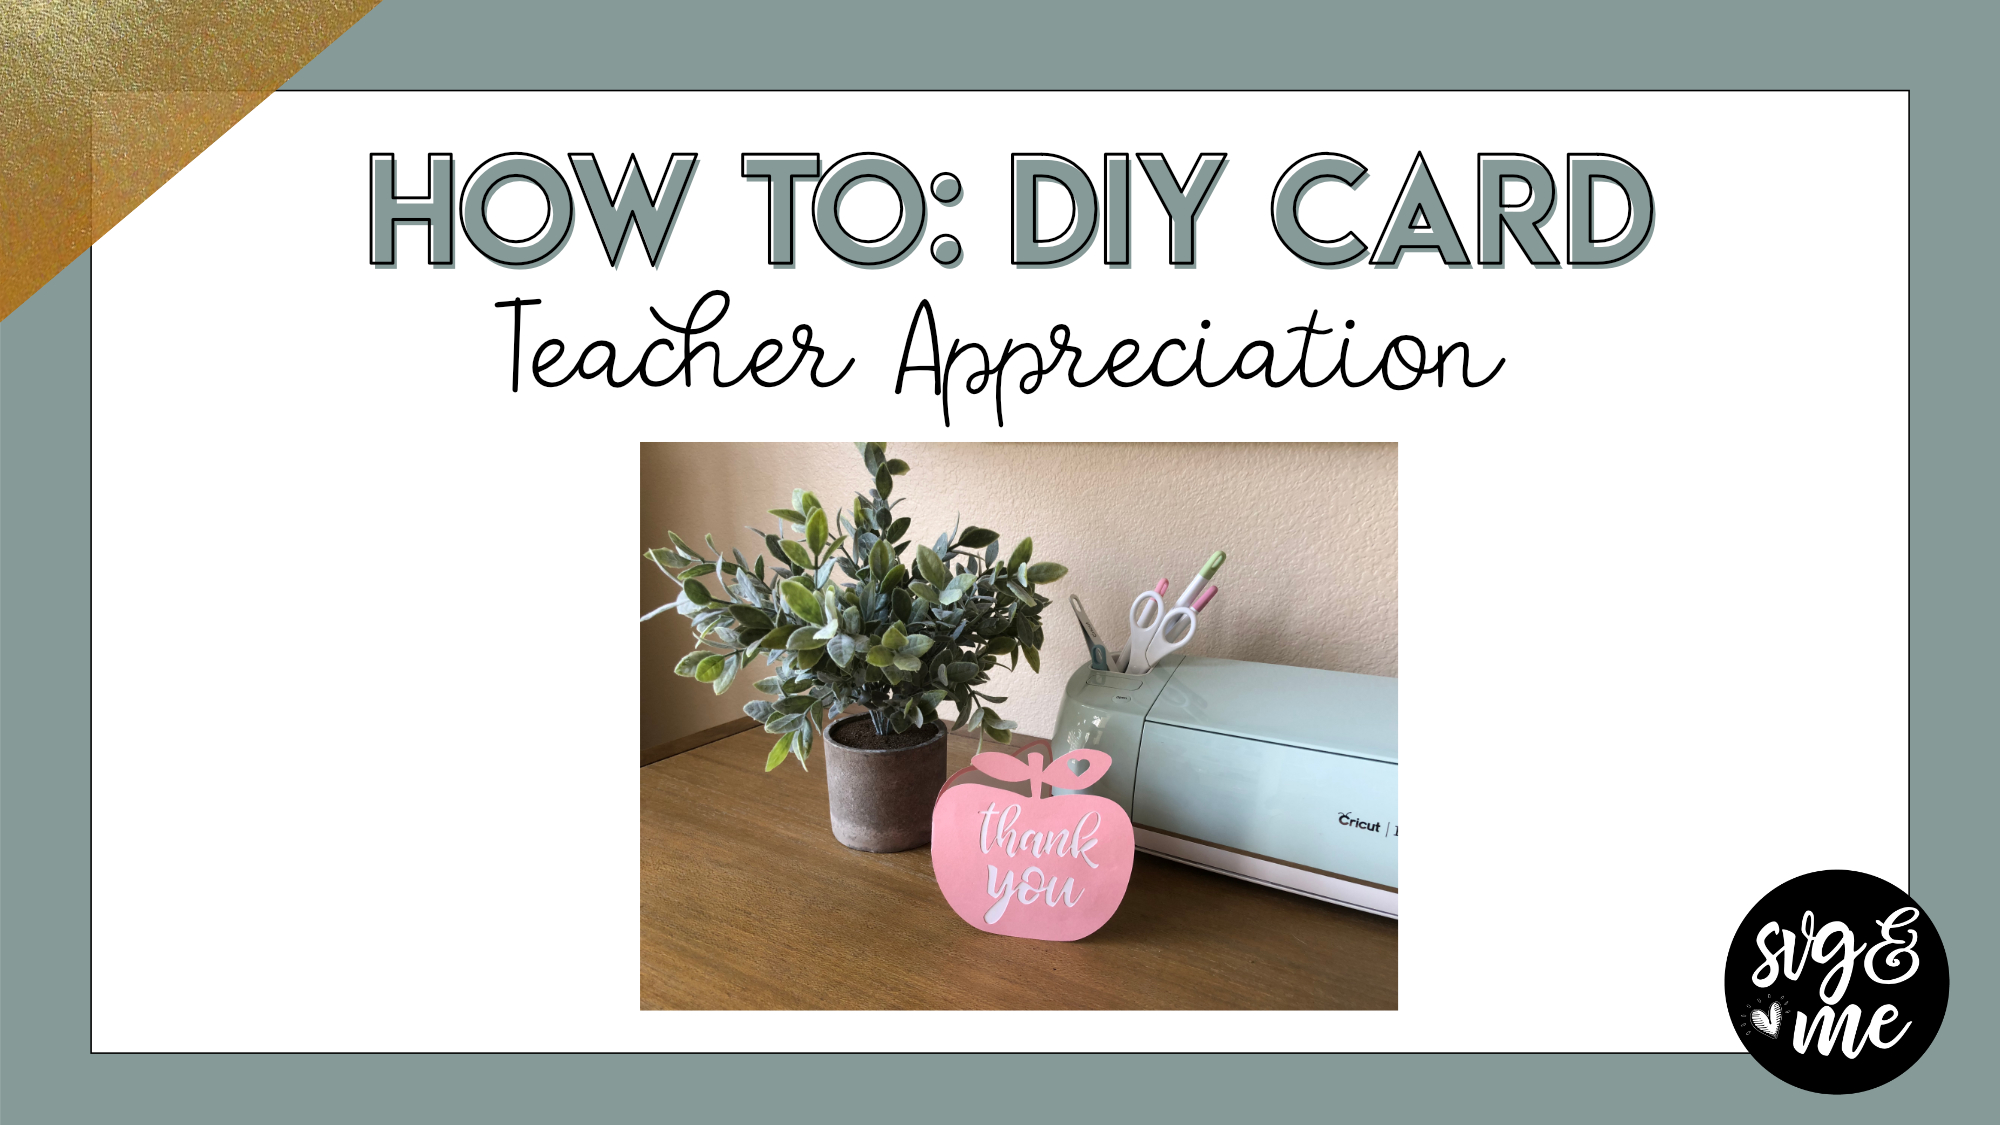
Check out this video tutorial on how to make a DIY card (with an insert to hold a gift card) to say thank you to your kid’s teacher!
-
Erica Martin wrote a new post 8 years, 3 months ago
-
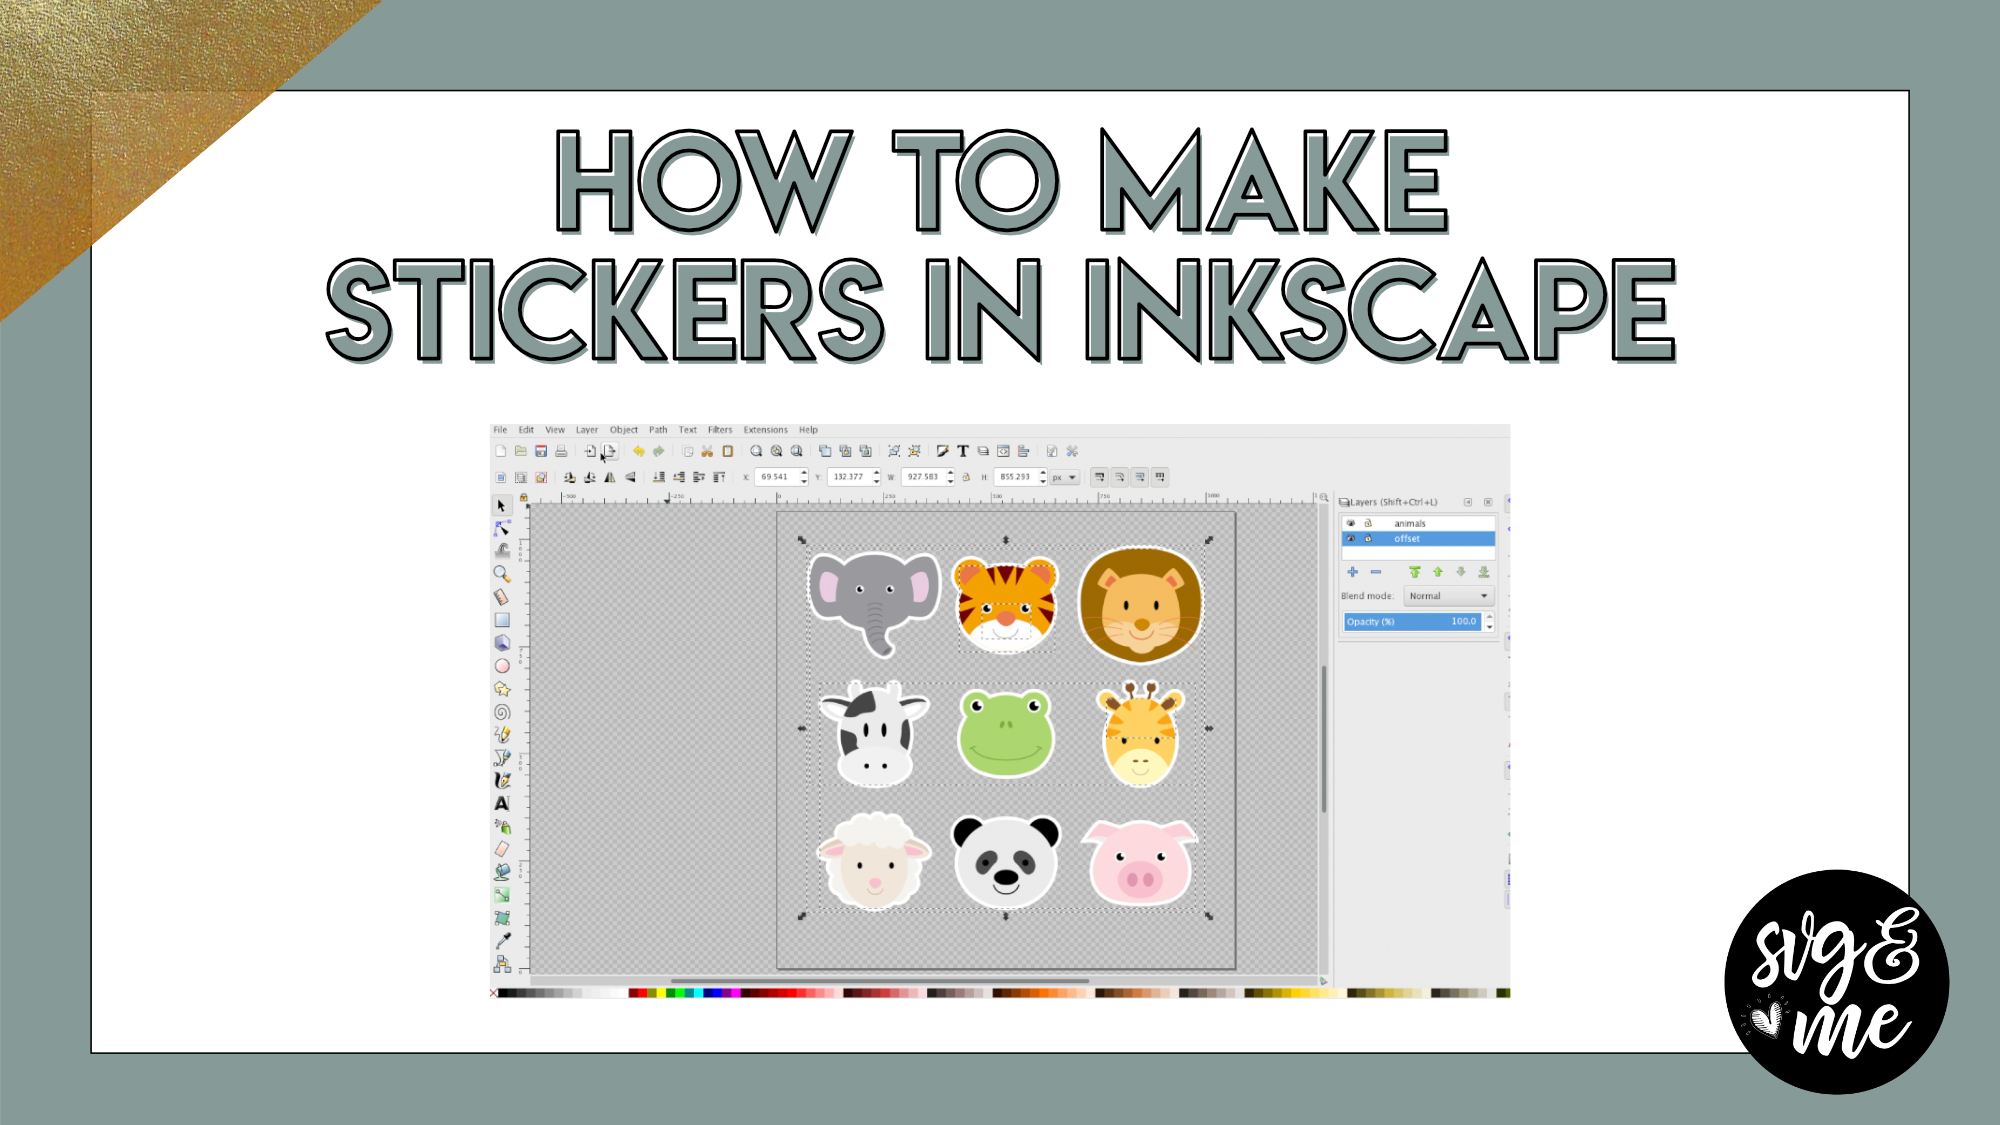
Wrote down notes. Thanks again. Question, What if you only wanted 2 sticker shapes out of the sheet…repeated or something of that nature?
-

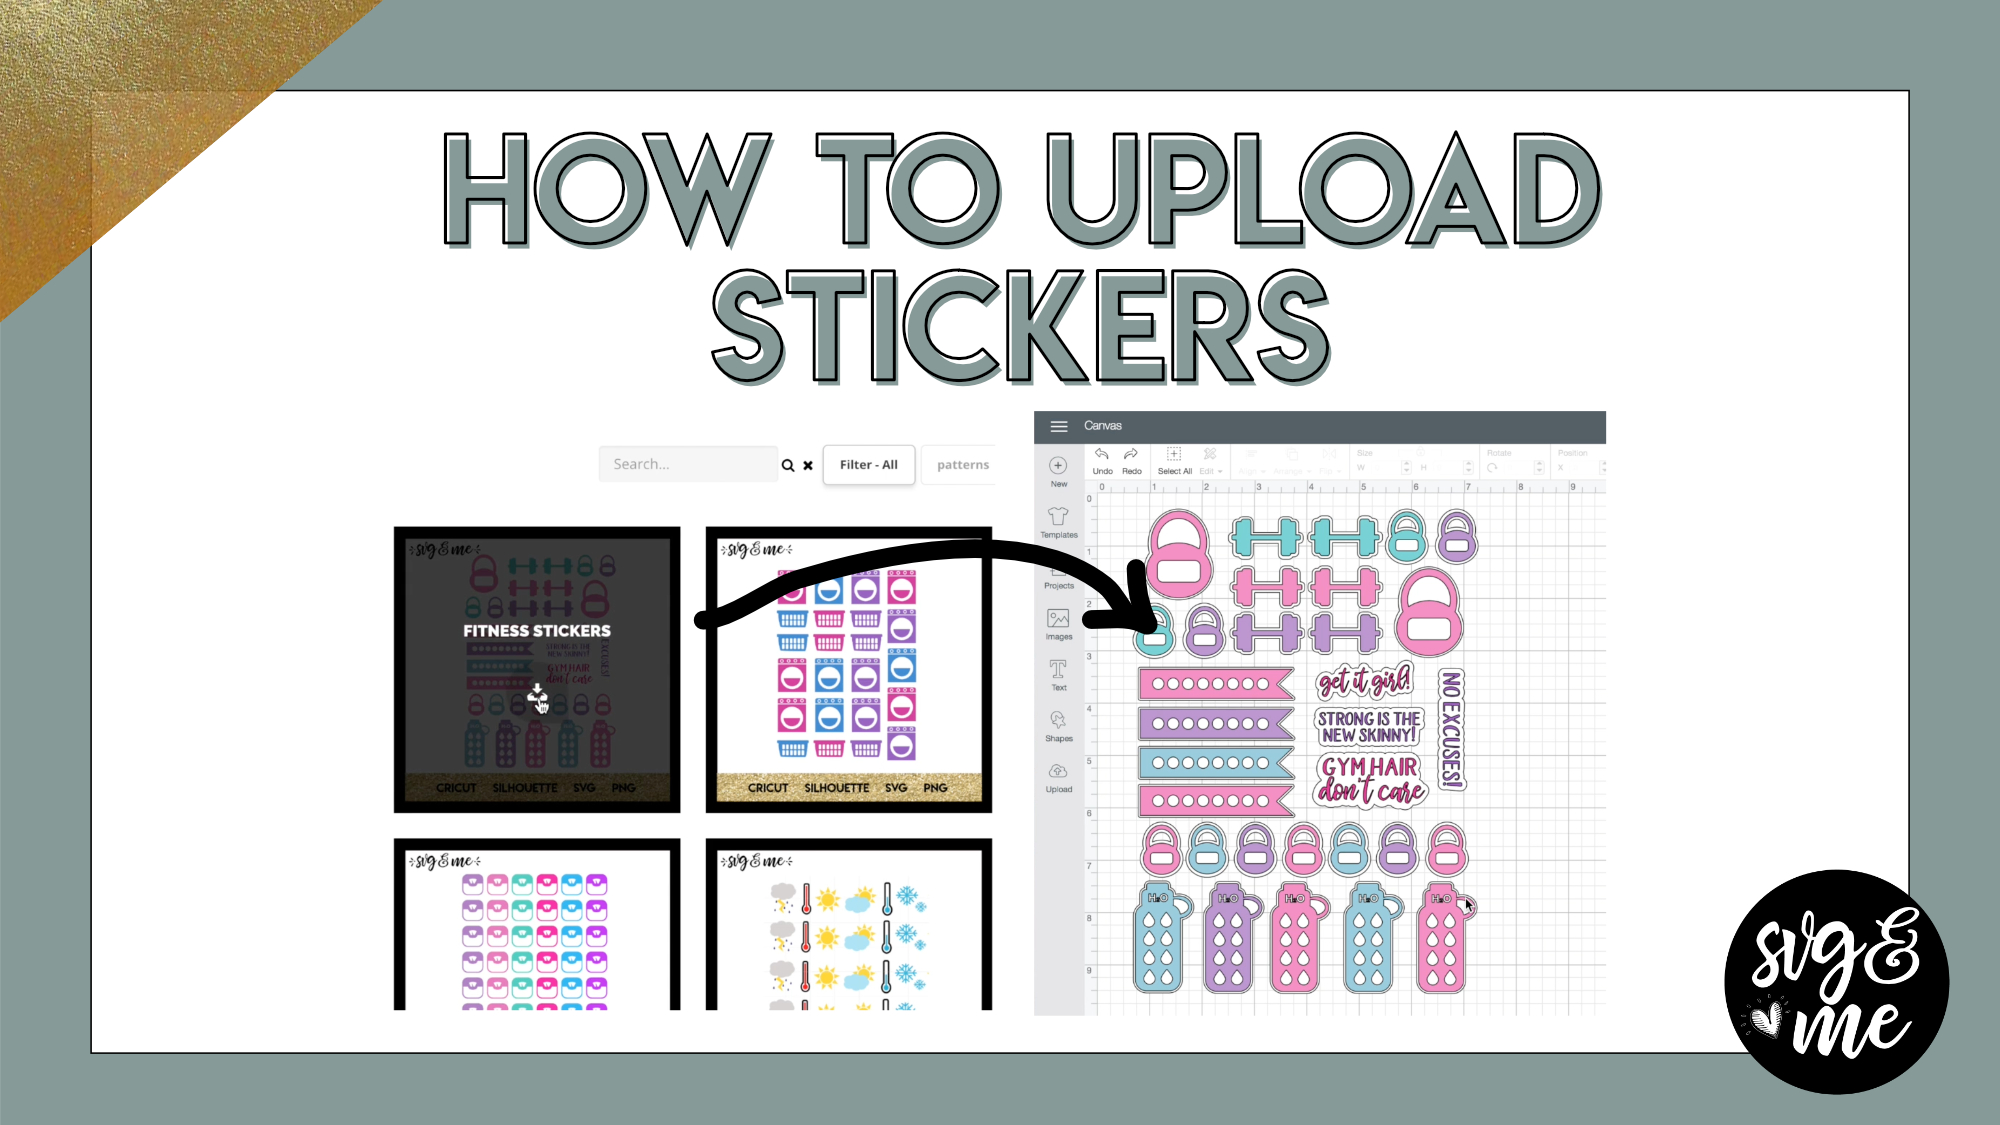
Good question. You could just ungroup then delete everything except the ones you want. Select each shape with background (if you want the white outline) and click flatten. Then, when you go to make it, you can increase the project copies in the upper left corner (and press apply) and it should duplicate it as many times as will fit on the sheet.
-

Would I use the same settings for stickers if I am using window cling vinyl on my Maker?
-
Hi there, you would want to modify the cut settings for window cling instead.
-
-
Erica
What paper do I load on my cricut mat to make stickers?-
You’ll need to get sticker paper. I use this one: https://www.amazon.com/Full-Sheet-Labels…/dp/B001QT4VA4
-
-
How do I do this on the Cameo 4?
-
-
Erica Martin wrote a new post 8 years, 3 months ago
-
That was very helpful. THANK YOU!!
-
You’re very welcome!
-
-
Would these same procedures need to be followed if using the Brother Scan and Cut? Thank you.
-
I wish I had a Brother Scan and Cut to experiment on to tell you. If you do and can try it out or share directions if it’s different, that would be fantastic and I would love to share with other members.
-
I have just tried this in Scan n Cut and to change the lines to score lines you select the line/s and right click and go to properties. Change the solid cut line to a dashed line so that it only scores the paper. The hardest part is to actually select the lines. I tried it on the open top box and ended up moving the border box away…selecting the remaining lines that needed scoring and then once finished putting the border box back.
While this was quite easy in this particular SVG I can see there may be issues with other SVG’s. If anyone knows an easier way than I just described I would be pleased to know. Thanks
-
-
-

Learned something new. Thank you!
-
Yay! Love hearing that!
-
-
Thank you. I took notes 🙂 Stupid question, what do you mean when you say ”make sure you attach it, before clicking make it?” I am sure I do it already but want to make sure. Thanks again, Erica . Also how do you become lifetime member?
-
You are a lifetime members so don’t worry about that 🙂 Attaching is the action to make sure that the pieces stay in the same position on your mat. It is kind of like weld but not permanent. There’s a lesson on attaching in the Design Space course you might find helpful: https://members.svgandme.com/lessons/attaching/
-
-
I have been trying to unzip the download and I cannot get it to work. I have a pc with windows 10, can you give me a clue of what I am doing wrong. Thanks in advance.
-
See if this helps (scroll down to UnZip files in Windows 10 section): http://www.simplehow.tips/a/56/how-to-zip-and-unzip-files-in-windows10
-
-
I absolutely love the training. I have 8 adults and 21 grandkids to make Christmas gifts for.
Thank you so very much!!-
Oh wow, you better start now with all those gifts to make 😉 So nice that you do that and glad you enjoyed the training!
-
-
Thank you for this!
-
You’re welcome!
-
-
Thank you for all of your help! You keep me inspired!
-
That’s so sweet – you’re very welcome!
-
-

great video ..easy instructions … I’m super excited to make these great Items.
I have a question, I was wondering are the stickers and 3D designs consider commercial use images also?
-
So glad you enjoyed it! Any of the files included in the commercial license library come with the commercial license. There are some sticker and 3D files mixed in there too.
-
-
Thank you! It was very helpful. I am still going through Inkscape learning, had to take a break with 2 grandkids here for another week. Looking forward to getting back into it when they leave. So glad I joined this group.
-
So great to have you! I understand – I’m sure they are keeping you busy 😉
-
-

I just love all your tutorials…..clear, simple and easy to follow instructions!
-
Thank you so much! 🙂
-
-
Love the videos. Are you using a Mac or PC
-
Thanks! I use Mac but it works on both.
-
-
I am learning so much thank you for having SVG and me. Can you tell me if I am a lifetime member because I know I’m sure going to need all you great info. You are awesome..
-
Yep you are and everyone else is as well in case they are reading this and wondering too 🙂 So glad to hear how much you’re learning!
-
-

I just joined about a week ago! I have learned so much and my frustration level before starting your course has disappeared. Now it’s enjoyable to learn with your am step by step with video tutorials. So glad I made the investment in
myself.-
That is the best compliment – thank you so much for your kind words! 🙂
-
-
I just joined about a week ago! I have learned so much and my frustration level before starting your course has disappeared. Now it’s enjoyable to learn with your amazing step by step with video tutorials. So glad I made the investment in
myself.
-
-
Erica Martin wrote a new post 8 years, 3 months ago
-
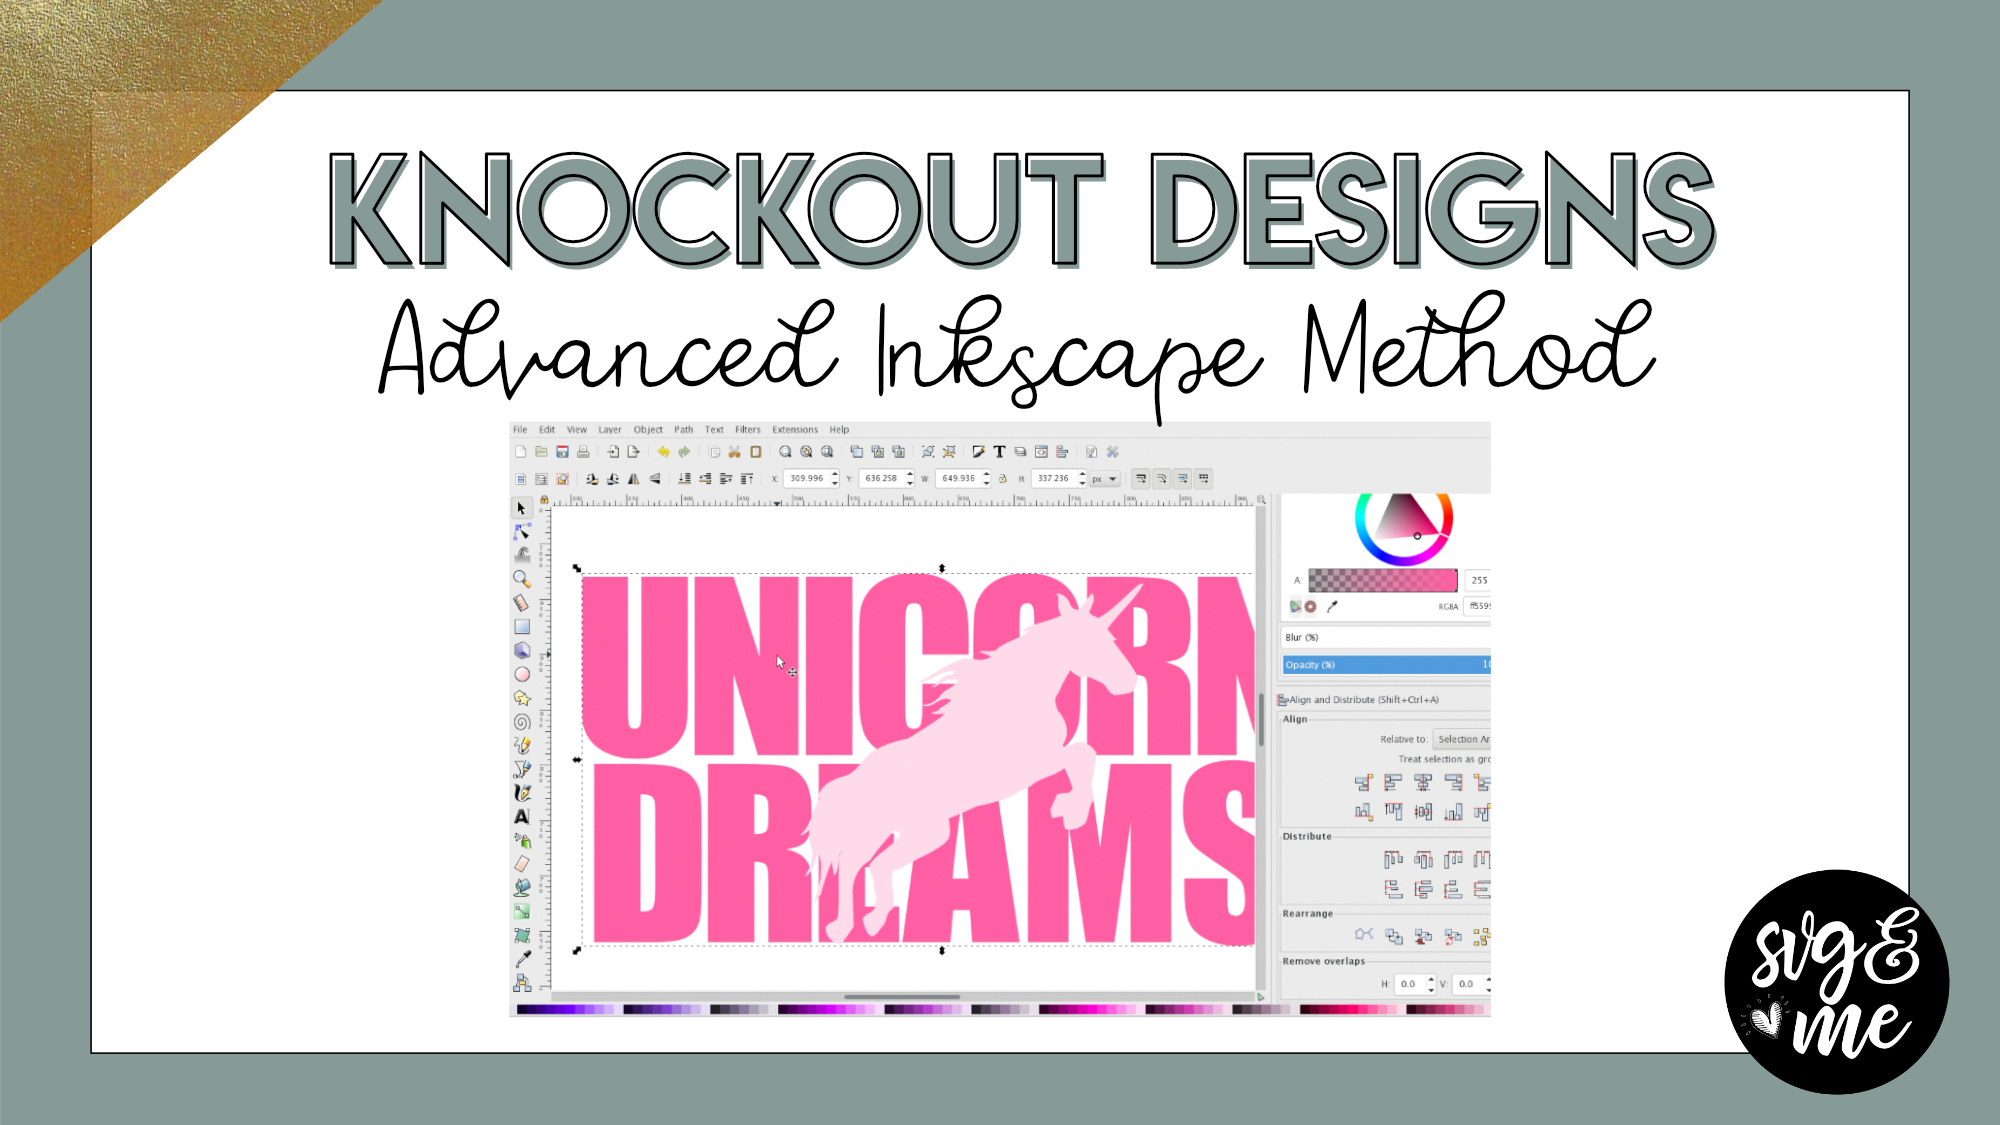
I’ve tried to Creat the advance knock out design and it all works great until I get to the inset part. From there I do not see an outline on my unicorn. I’ve tried it several times and it isn’t working. I’m not sure what I’m doing wrong.
-
I don’t know if this would have anything to do with it but when I realized I needed to insert the unicorn I ended up having to open a new Inkscape window and start over again. I’m assuming I have to have my image already in there before I start the text.
-
Hi there! Yes, you’ll need to have your unicorn image open in your project and make sure it is a traced SVG image in order to be able to use it in the design. You can determine this by selecting it with the “Edit Paths by Nodes” tool and making sure there are nodes around it.
-
-
I’m still having the same problem. When I get to path/inset there is no outline of the unicorn like what it shows in your video. I tried to continue to see what would happen, when I got to path/intersection it does not show the two different colors.
-
So did you duplicate your unicorn and change the copy a different color before you did the inset? Feel free to reach out to me via email ([email protected]) so we can troubleshoot better. It would also be super helpful and much quicker to troubleshoot if you can do a screen recording of what you are doing. You can get a free account with UseLoom.com or use any other free screen recording software for this.
-
-
Thank you Erica. I will try to do that this week. I have crazy work hours so will try to fit it in. I really appreciate all your help!
-
No problem!
-
-
I imported an SVG of a mermaid tail to use as the knockout image. I ensured it was an SVG by checking for nodes which there were nodes. I tried doing the inset, but it did not work. I tried to import the image and also used the drag and drop method to insert it in Inkscape, but neither way worked. I imported a PNG, traced it, and then the inset worked. Am I missing a step with the SVG? Is this a common issue or am I doing something wrong? Thank you!
-
Was it perhaps grouped? Make sure it is fully ungrouped before you try the inset. That is my best guess as to why it wasn’t working the first time.
-
Sorry for taking so long to get back to you. I think ensuring it was fully ungrouped may have been an issue. I just tried it again and the inset/outset worked. Thank you SO much!
-
Not a problem – glad it worked out!
-
-
-
-
Is there anywhere the steps are in text form so that I may follow as I do them ?
-
I don’t have a PDF for this one yet but I can add it to my to do list 🙂
-
-
I am finally at the end but when I try to do “difference” it will not work.
-
Make sure everything is ungrouped and you are only selecting two items when you do the difference. Feel free to email me if still having trouble.
-
-
-
Erica Martin wrote a new post 8 years, 3 months ago
-
Erica Martin wrote a new post 8 years, 3 months ago
-
oh my gosh – that was amazing and I wish I had watched the video before I did my project (totally frustrated); but, now it all makes sense. Appreciate your hard work!
-
That is so amazing to hear! Glad I could help!
-
-
Wish I had seen this done on the cricut before I finally figured out how to do it in inkspace
This is so much easier!-
Good to know how to do in both because the DS may be easier by the Inkscape version you can do on more than a circle shape you can do on any path 🙂
-
-
I’m new to the Cricut world, and these videos are so helpful. Makes creating projects so much easier, and in half the time! Thank you.
-
So glad to hear that!
-
-
Thanks so much. I had no idea what the templates were for. When I had clicked on one before I don’t remember an outline showing up. I work with t shirts a lot so this will help.
-
Perfect!
-
-
Thank you this is going to be so helpful as I venture into my Cricut World.
-
Great! You’re welcome 🙂
-
-

I wish I would have found this out sooner. Thanks for a great video.
-
You’re welcome!
-
-
Holy cow! What a superb tutorial. I know I will be referencing this a lot in the future. Thank you for your time.
-
Thank you so much!
-
-
Wow! I’ve learned SO much more in the first few videos than I have roaming around YouTube! It’s so much better having everything in one place like this! Thank you for creating these courses/videos for us!!
-
Hi, this is great. Great hack with the webdings!!! I was able to find the cancer awareness ribbon using webdings and a hyphen. But this is my question. I welded the ribbons and a heart I added and they all became the same color.
So when do you know to weld or not to weld?2nd question. Where are you getting all your fonts because I don’ t have any of the ones you mentioned in this video and I really liked the Lily Mae.
Thank you.
-
Thank you for your hacks, they are very helpful!!
-
So glad to hear it!
-
-

Great video, Erica! Concise and to the point! Thank you!
-
Thank you! Glad you enjoyed it!
-
-
I’m new so maybe I don’t know where to look, but do you have a printable tips and trick or cheat sheet for this new tutorial? I didn’t see it in the workbook and I tried to freeze the video to print it but that didn’t work either. Thanks!
-
I don’t have a cheat sheet on this one yet but you can come rewatch the video any time you’d like.
-
-
Thanks!
-
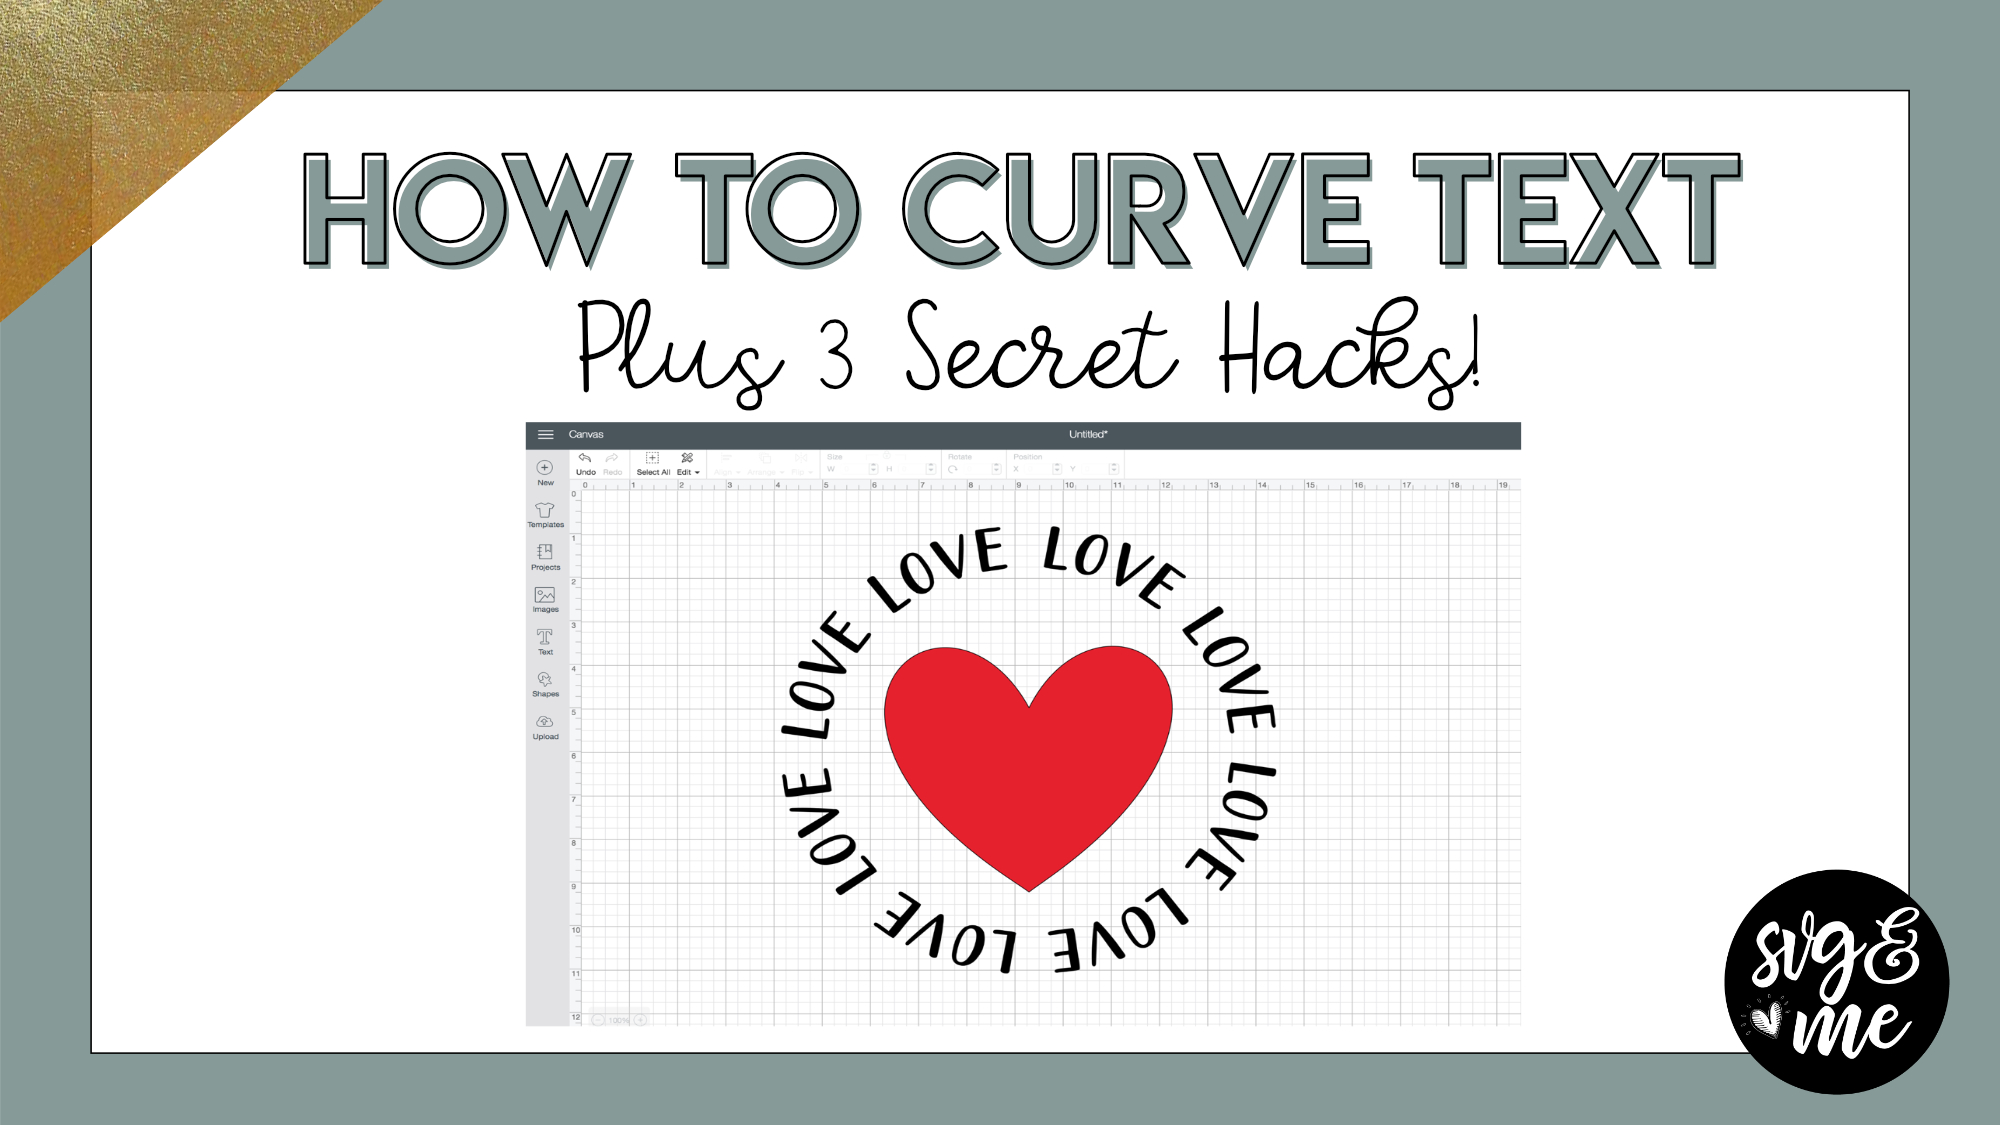
Is this a feature I would use to create text to place on a curved figure like a paper cup or mug?
THANKS!
Cindy-
Yep, you could use it for that 🙂
-
-

This is amazing! Love these hacks so far! One thing that does not work on ds on my computer is the /? key for bringing up the keyboard shortcuts. Any ideas? Thanks. Really am enjoying your series!
-
It looks like they recently got rid of this menu – sorry about that!
-
-
Thanks for the quick response!
-
You bet!
-
-

Thank you so much for all of your hard work! You are clear and concise and I really appreciate it! I am learning so much in this course!!
-
can I just print that cheat sheet for the curve lettering?
-
enjoying this tutorial. I have used design space for two plus years, but hadn’t taken the time to try out the new stuff. thanks.
-
Great! This is the perfect opportunity to do so 🙂
-
-
Gosh, I’ve had my cricut for the pass 4 years and duh never knew how much you can do with it. Thank you this is so perfect and easier to do now.. So much new stuff I’ve learned today. Thank You!
-
I absolutely love hearing that you discover new potential for your cutting machine through the membership!
-
-
This is Amazing!!! Thank you. I can’t wait to try this.
-
Yay! So glad you enjoyed it 🙂
-
-

Did not realize cricut had this feature
-
Oh good! Always fun to discover a new feature!
-
-
Hello Erica, Just watched this and as usual learned so much from you. I do have a question though. When you were doing the wreath of LOVE, is there a reason you did not add a hyphen at the end so that gave the final space?
-
Hello Erica, Just watched this and as usual learned so much from you. I do have a question though. When you were doing the wreath of LOVE, is there a reason you did not add a hyphen at the end so that gave the final space?
Margaret -
If it’s at the end you probably won’t need a hyphen since it will not have anything after it that you need a space for if that makes sense. You’ll just play with the sizing to make sure it wraps around the entire circle correctly.
-
-
This was just great! Thank you
-
Thank you for making this video , your course has been so helpful! On the word wreath when the “love” “love” met up at the bottom, I added another “-” and it seemed to space the word “love” around the wreath appropriately. Is this acceptable , or have I adjusted letter spacing and didnt realize it? and, how would I check to see if I did adjust letter spacing?
-
That makes sense and you can definitely add the spacers wherever needed 🙂 So glad you’re enjoying the course!
-
-
Yes definitely am!
-
Would like to Thank you for doing this curving video … been trying to look how to do this for a while ….. I Definitely should of done this course in the beginning x
-
So glad to hear it’s already delivering value for you 🙂
-
-
-
Erica Martin wrote a new post 8 years, 3 months ago
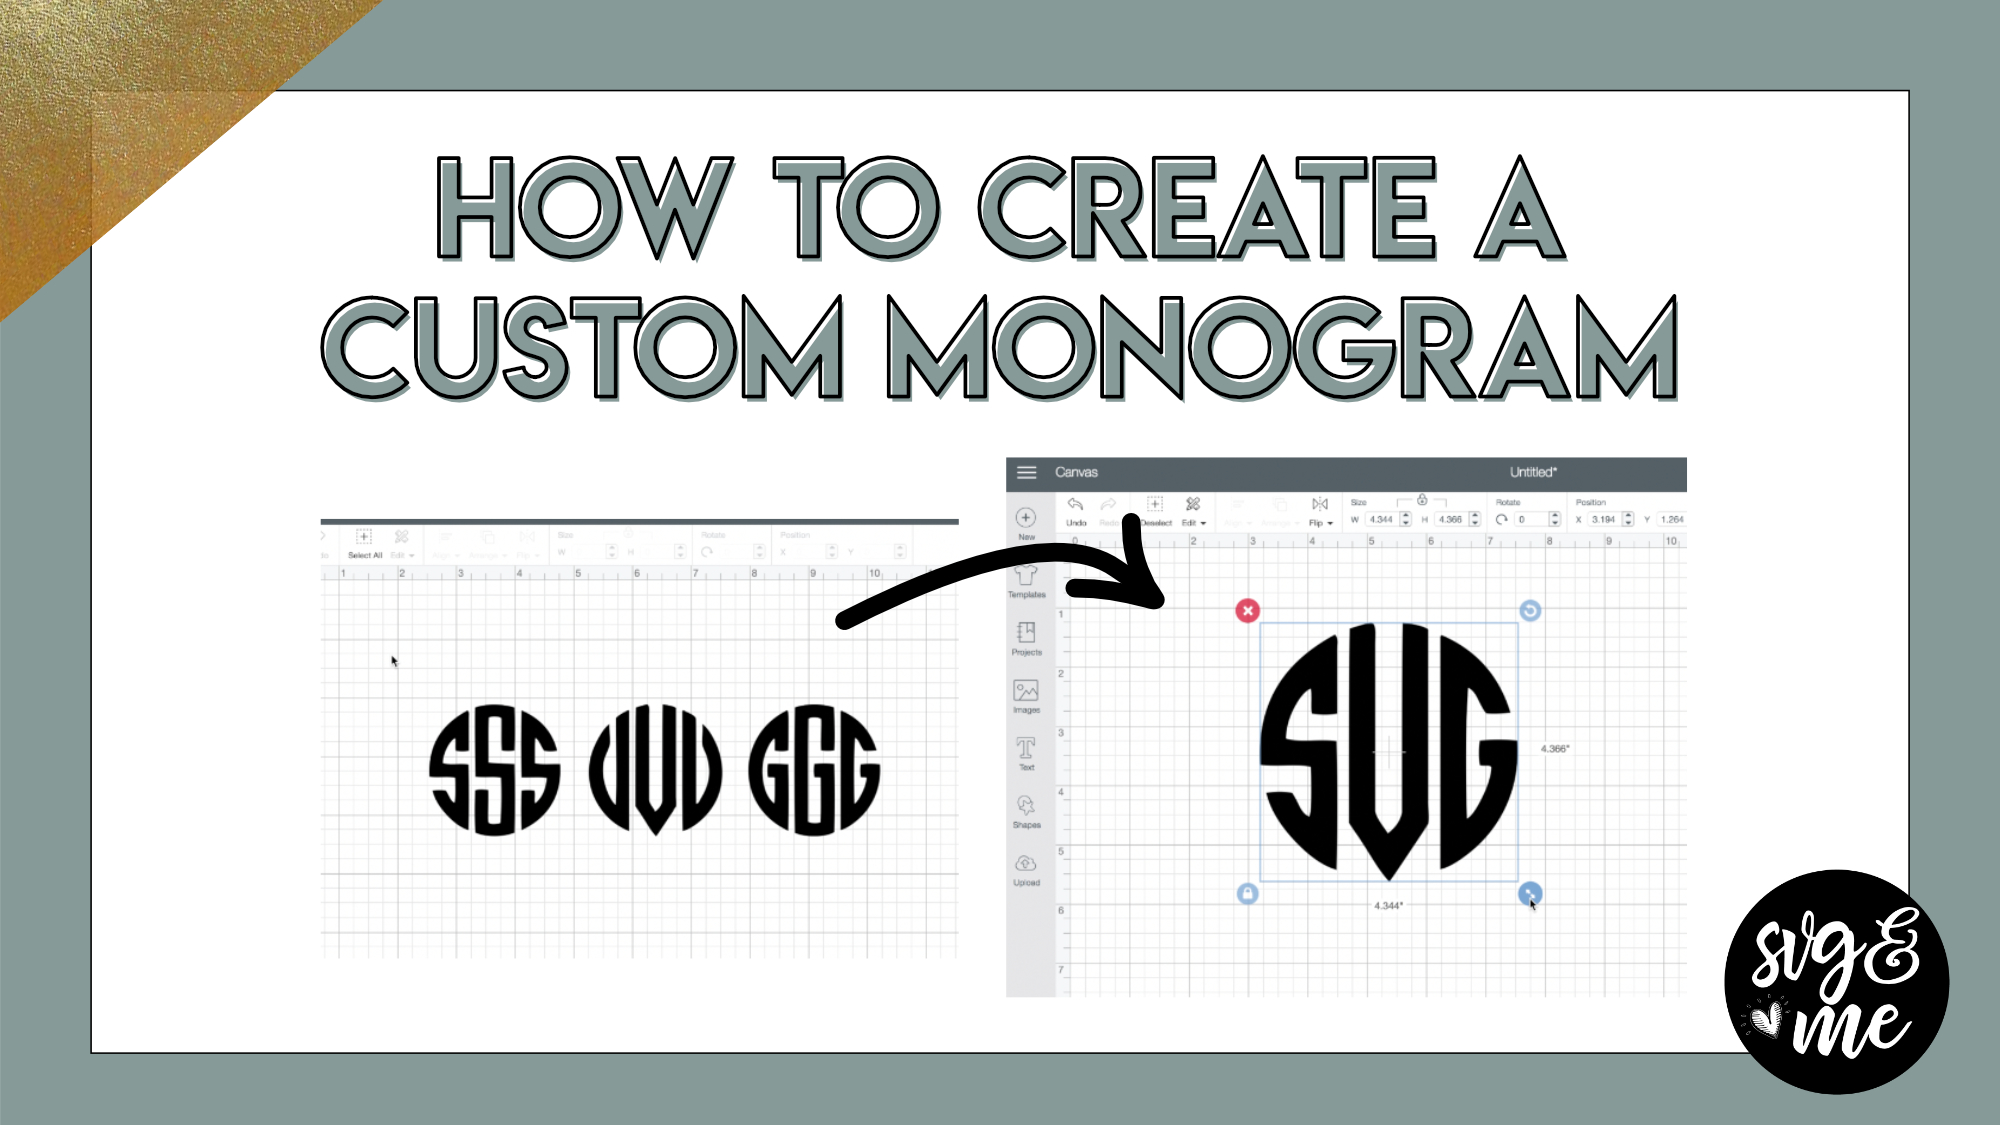
Head over to our members-only SVG library and search “monogram” for tons of monogram frame designs you can download in a single click!
Get the monogramos font used in this tutorial here: […]
-
i don’t see the links below? i will try and load the dafont into DS and see what happens!
-
Oops, sorry I will add them now but it is monogramos font from dafont.com
-
-
I don’t see the link to the frames either. I thought I heard they are on SVG.com but that isn’t right.
-
I found them.
-
-
Erica Martin changed their profile picture 8 years, 4 months ago
-
Erica Martin wrote a new post 8 years, 4 months ago
-
Great video! Thank you!
-
You’re very welcome – glad you enjoyed it!
-
-
Hi There!
I don’t see the video! Is it gone for good?
-
The video is there when I check it – perhaps it was a temporary glitch?
-
-
Ha! It’s there now! Thanks lady!
-
Oh good!
-
-
Where can i find that Regal font?
-
So thankful for these tutorials!
-
Glad you’re enjoying them! 🙂
-
-
-
Erica Martin wrote a new post 8 years, 4 months ago
Instantly Download State Silhouettes Here:
A-H States
I-M States
N-R States
S-W States

-
Hey Erica! For the one with home in the middle of the TX silhouette, is there a way to cut the text out of the shape kind of like you did with the heart on the one where you replaced the “O” in home with the silhouette? When I do difference it makes everything disappear.
-
Yep! Make sure you are converting home to a path and ungroup and union the letters before you try to do a path > difference with the state silhouette.
-
-
-
Erica Martin wrote a new post 8 years, 4 months ago
-
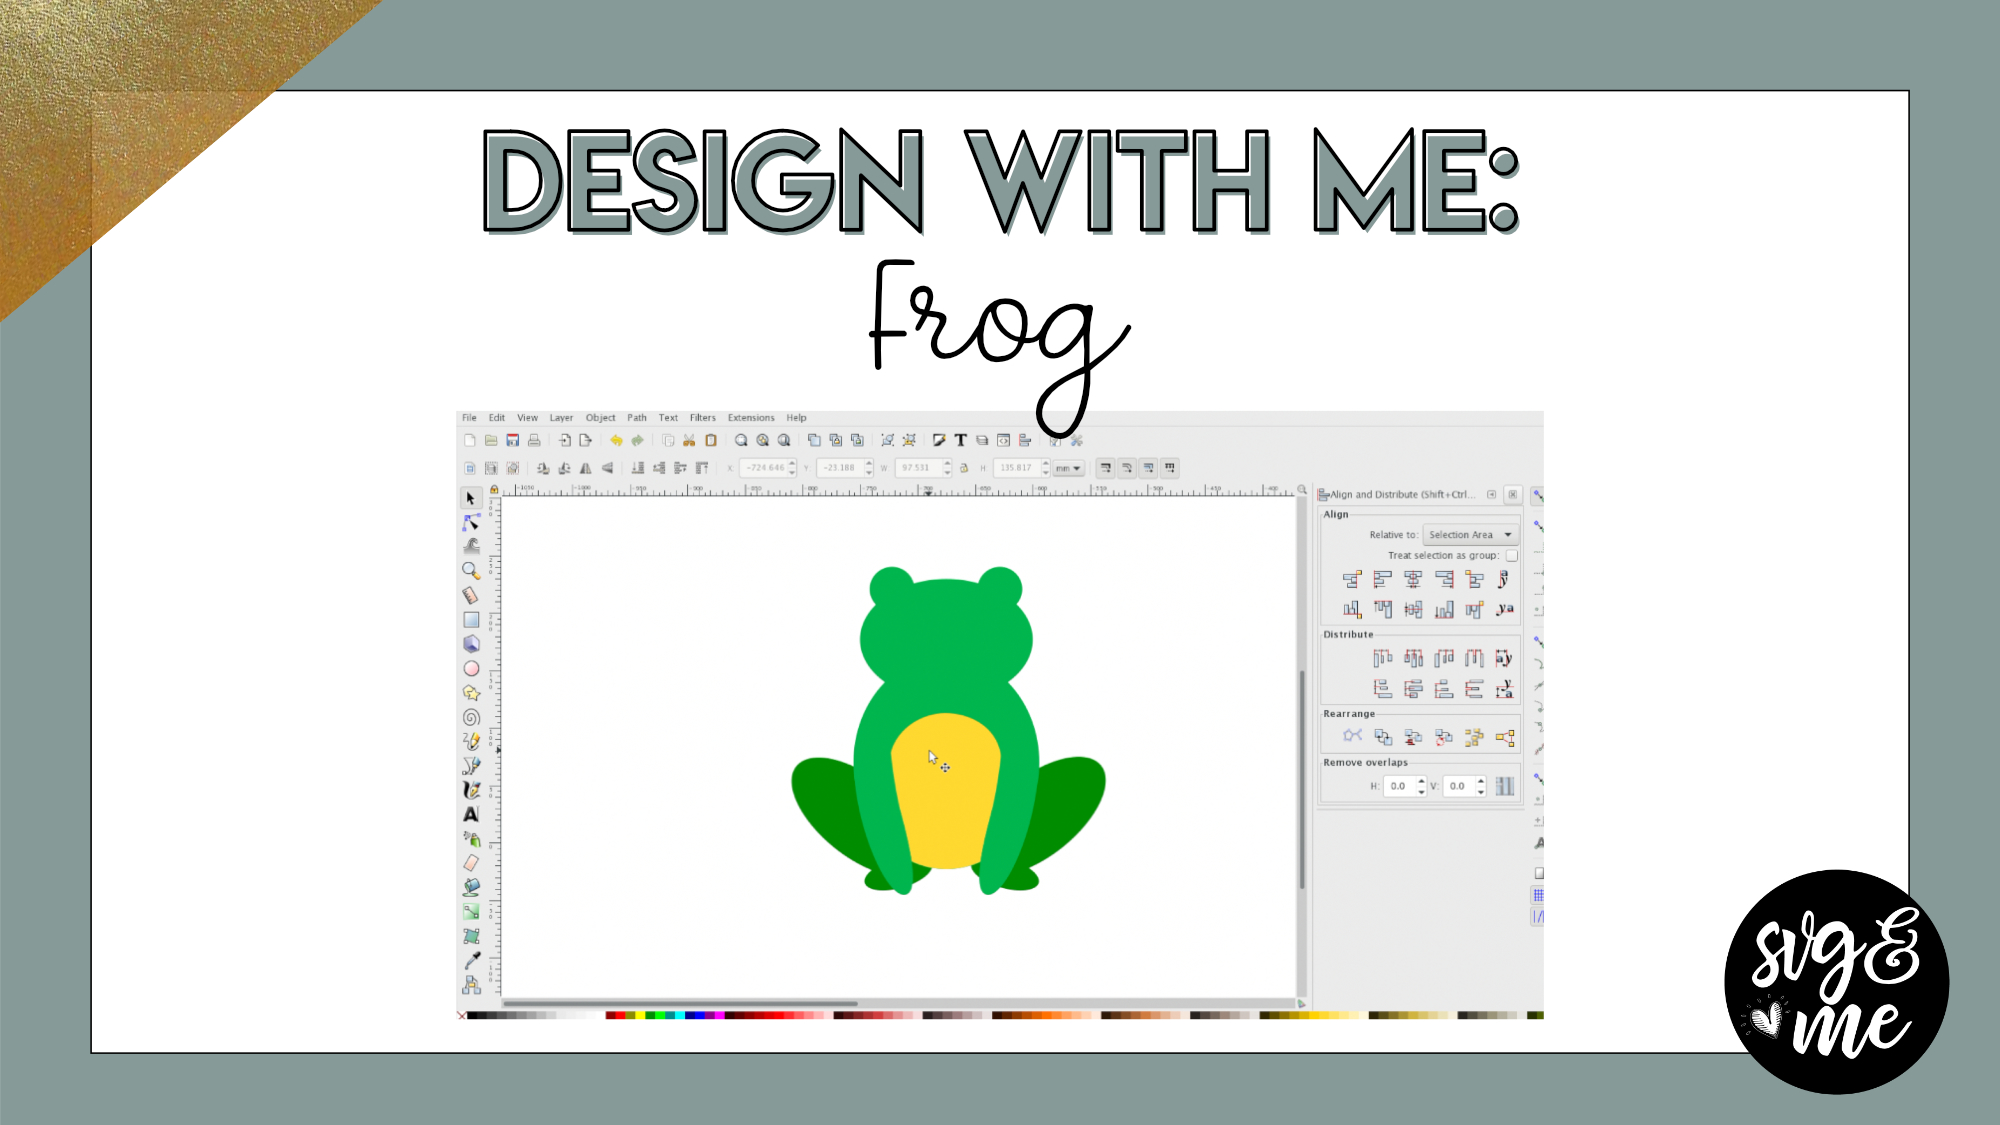
That’s so cool !! I absolutely love frogs ..
I learn something new all the time .
Thanks so much-
Yay! Glad you had fun with this one!
-
-
-
Erica Martin wrote a new post 8 years, 4 months ago
-
What type of files do you look for to import here? I have tried several from freepick but none of them work. They are all jpegs.
-
Freepik files should have multiple file types in them. You’ll want to use the .AI or .PDF version
-
Hello Erica…with regards to Freepik, do you or can you do a video on how to ungroup files Inkscape, please! I have AI but I am still learning how to use it. I have tons of vector files that I would love to use as a background but I can not figure out how to ungroup and use them. I want to make a wedding invitation. Thanks!
-
-
-
Erica Martin wrote a new post 8 years, 4 months ago
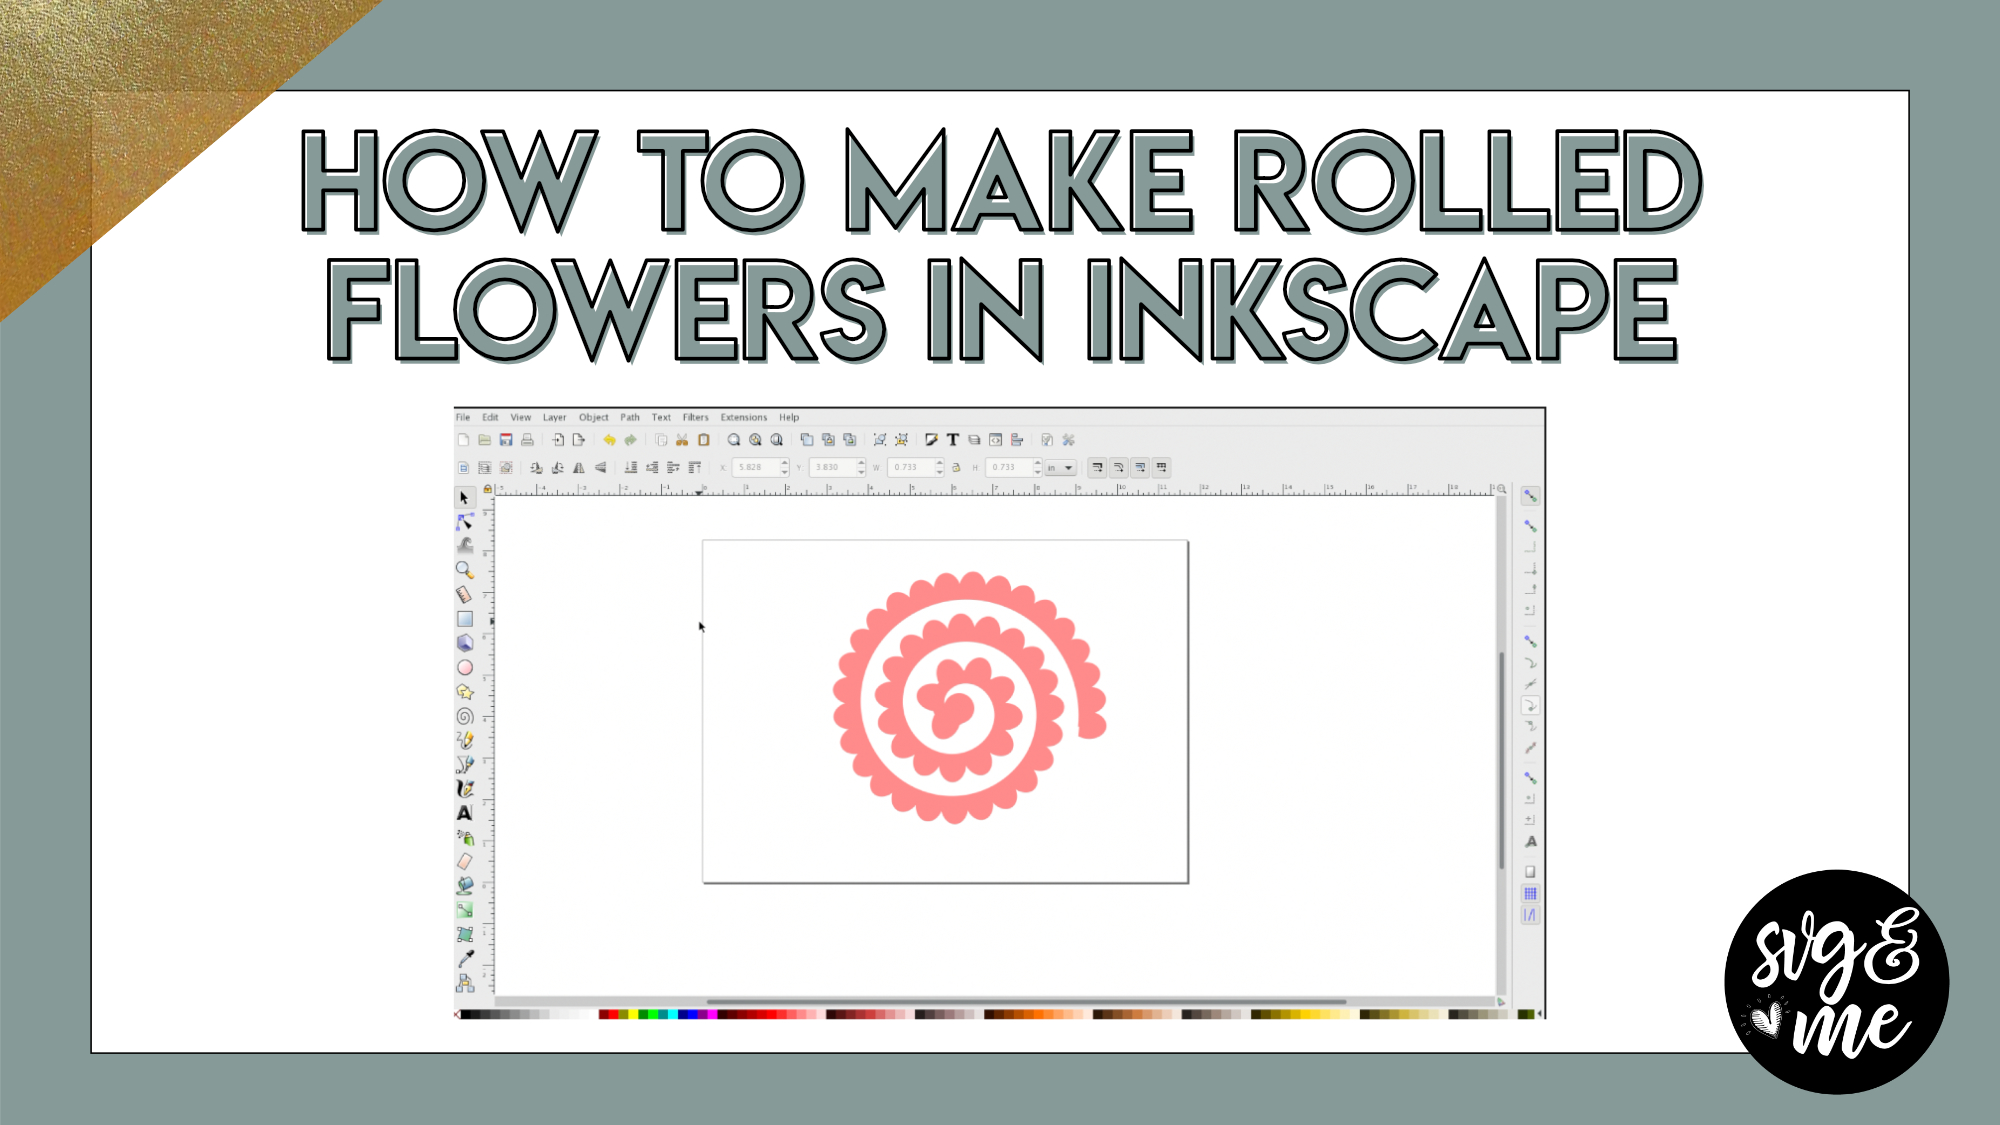
-
Erica Martin wrote a new post 8 years, 4 months ago
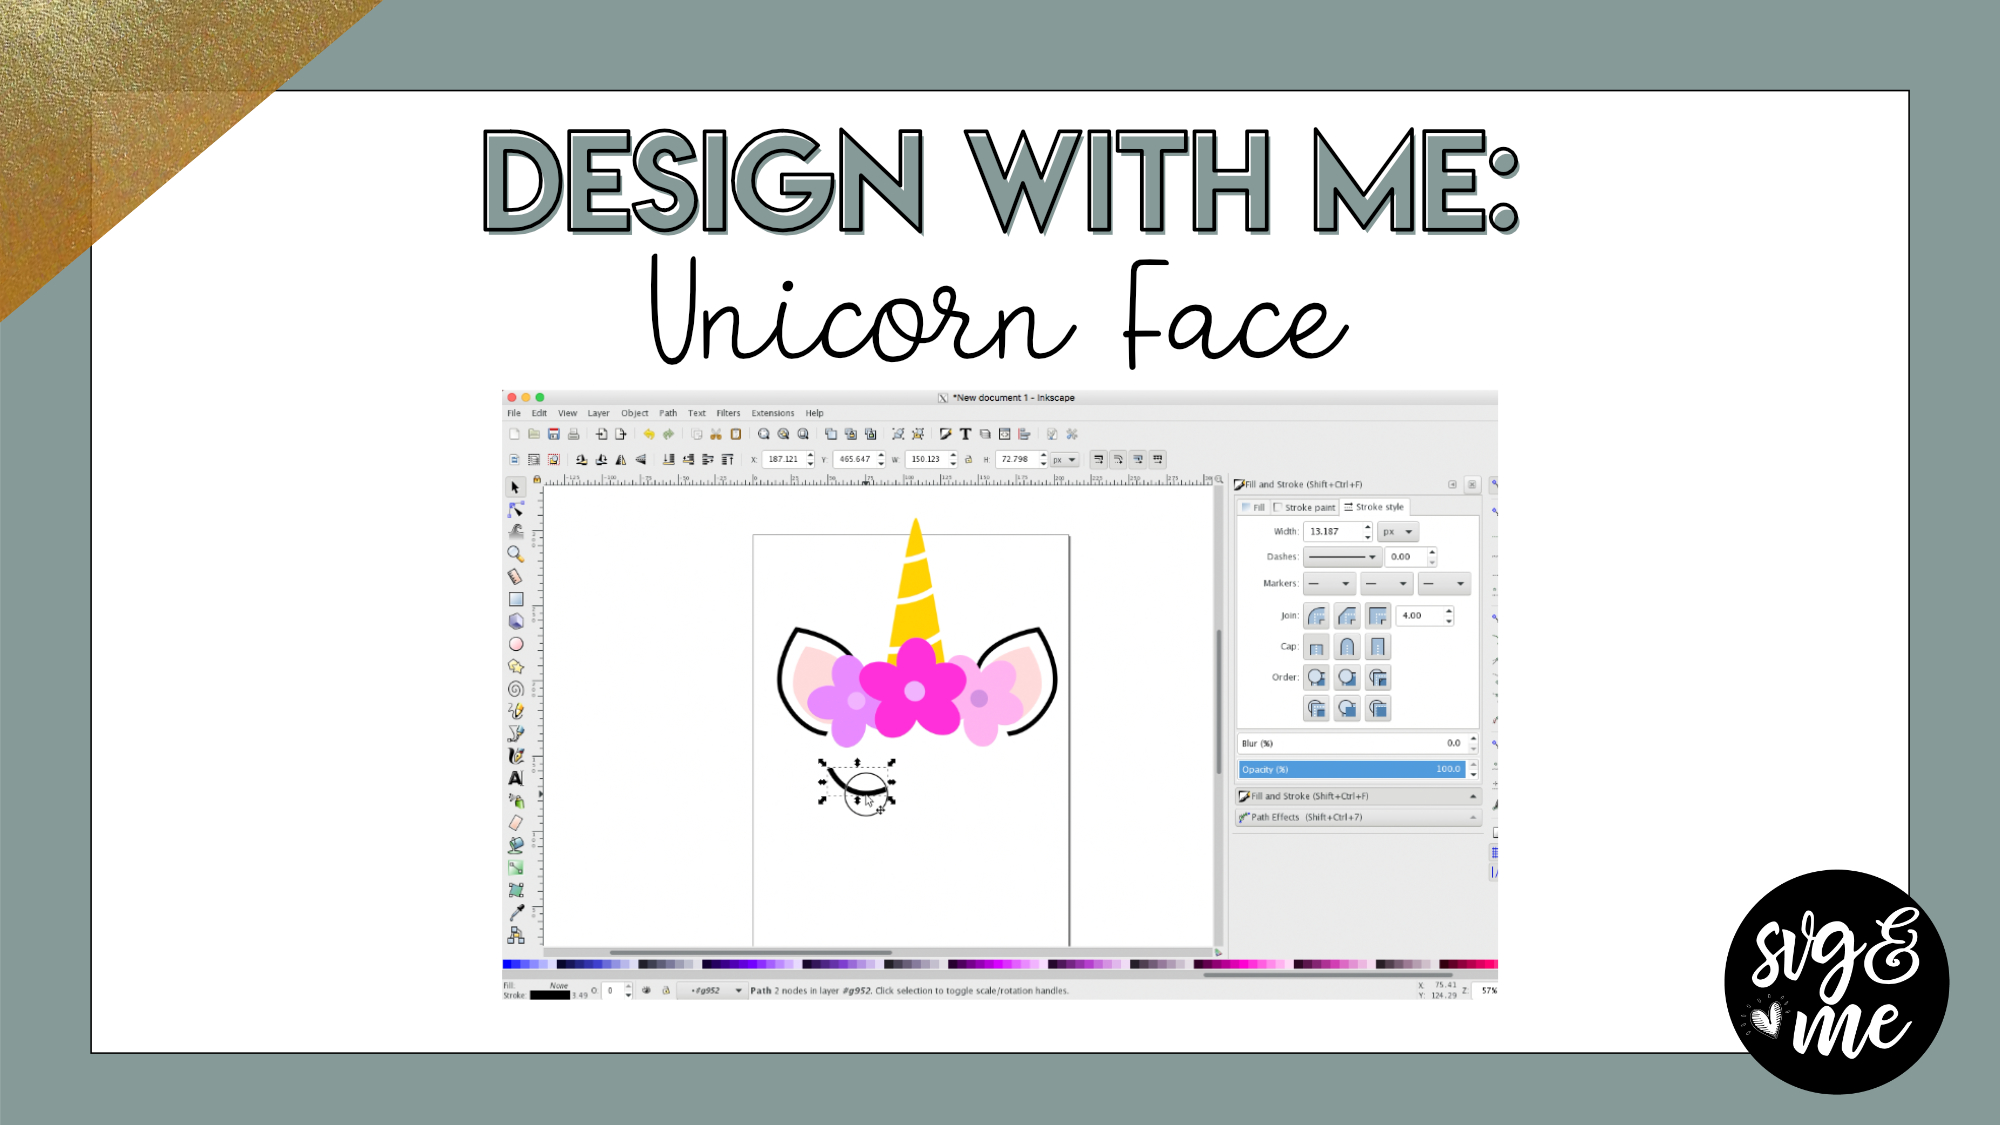
-
Hello, When adjusting the nodes mine keeps saying Handle to smooth with a cross on the node. What am I doing wrong? Thank you
-
Try turning off snapping and see if that helps. You do so by turning off the button in the upper right corner in the right toolbar that is a blue and green node with an arrow in between (at the very top)
-
-
when try to make a rectangle it does the dotted outline but does not stay the shape of a rectangle and does not stay on the screen
-
Hmm I am not quite clear on what you mean. Feel free to send me a screenshot and I will help you troubleshoot. Is it just that you don’t have a fill color selected?
-
-
Thank you Eric for this tutorial. I can’t wait to try it. My granddaughter is turning 3 and I want to make her a shirt with this design.
-
Oh great – Perfect opportunity to practice!
-
-
Very difficult time with flowers. Will need lots of practice : )
-
-
Erica Martin wrote a new post 8 years, 4 months ago
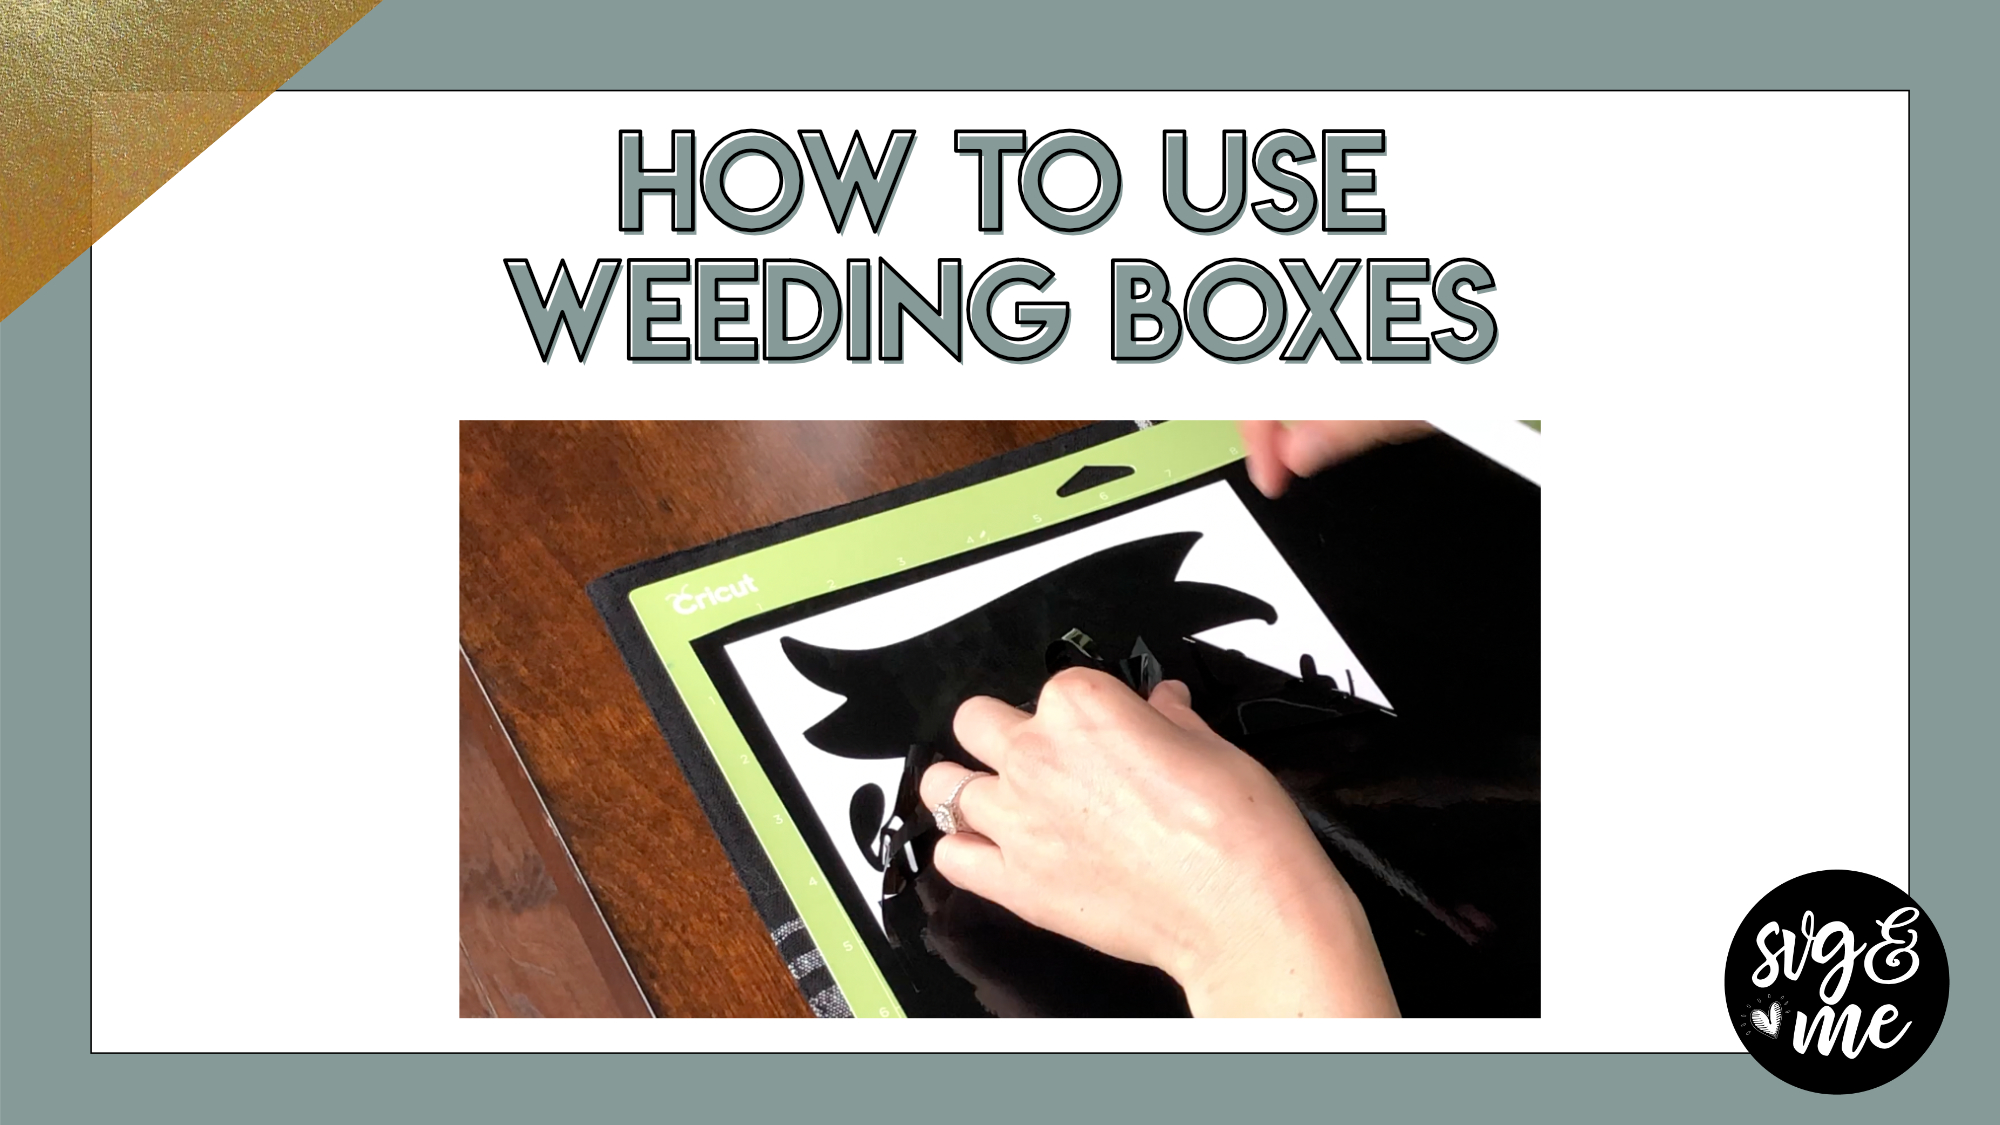
-
This is a great tip , thank you
-
You bet!
-
-
Wow, that is awesome! Thanks so much!!
-

You just made weeding much easier for me
-
Yay! Yes, weeding boxes are awesome!
-
-
This is such an awesome hint. Thanks a bunch.
-
You bet!
-
-
-
Erica Martin wrote a new post 8 years, 4 months ago
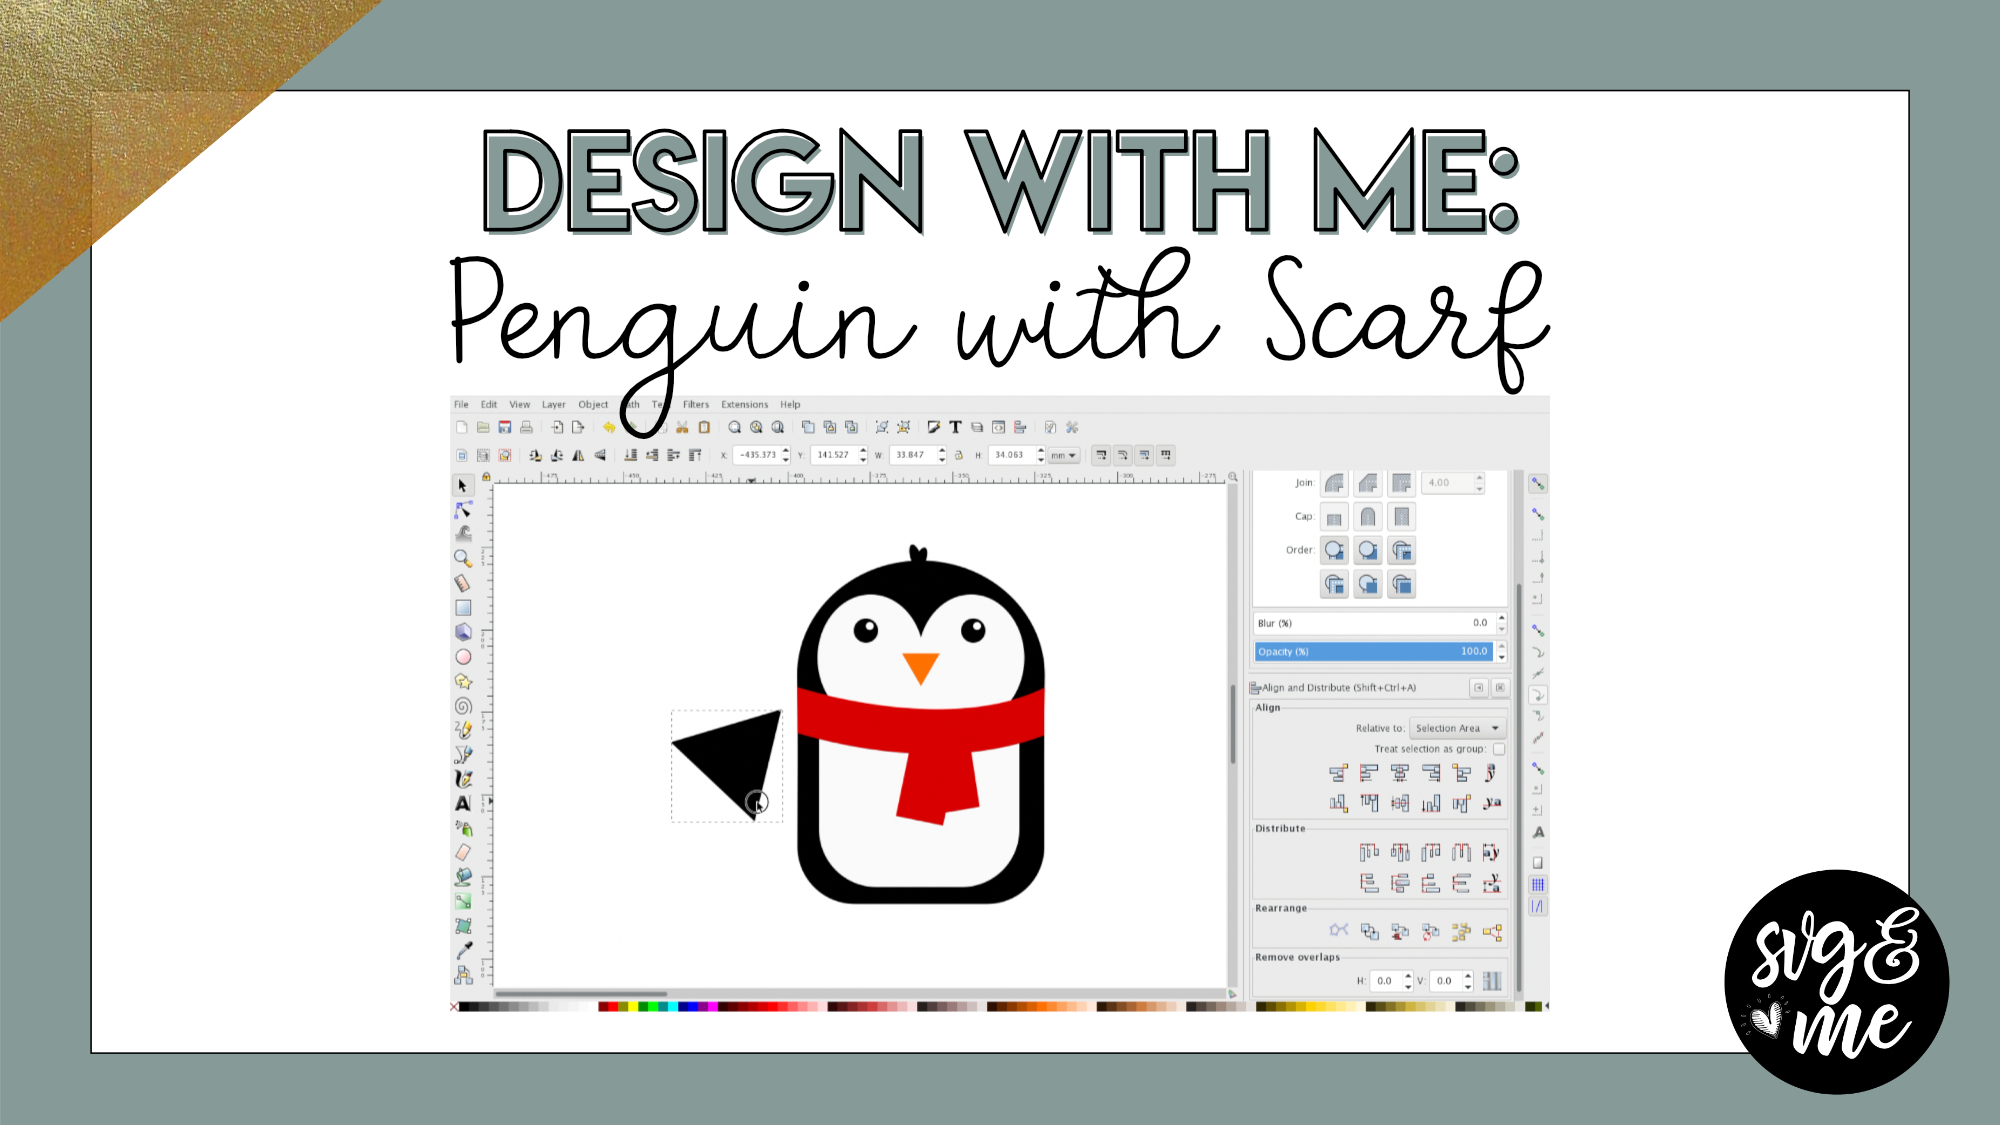
-
Those nodes are sure a pain : )
-
the nodes are hard to do ,I couldn’t do the scarf but i will practice until i can. so right now my penguin has a tie on him
-
Love that determination and from what I’ve seen in the facebook group you really have been doing some awesome practice projects!
-
-
- Load More


Really helpful! Love this tutorial most for the learning how to use nodes!
Glad you found it helpful! Yes, it can be helpful to grasp how to use nodes when you see practical examples of why you’d want to edit them.
Nice video. On an Ariel Font for example how small can one cut out the letters? I am doing 1/4″ high X 2.5″ long for my husband’s train. Had a hard time getting the letters to stick to the transfer paper.
For small intricate fonts I recommend cutting on the washi sheet setting and then using the reverse weeding method. We go over both in our Mastering Your Cricut add-on course if you’re interested in learning these techniques: members.svgandme.com/member-myc
Thanks Erica – a little late responding – been busy with other stuff. I have a Silhouette Cameo 3. Is there a class for cutting on the washi sheet setting and then using the reverse weeding method?